
How to Schedule YouTube Videos to Save Time: A Step by Step Guide


If you’ve been creating video content for your business’s YouTube marketing strategy for a while now, you might be wondering how to schedule YouTube videos.
Scheduling videos helps with the planning of a social media content calendar. It’s a good way to make sure you don’t forget to share the quality content you’ve created—on a regular basis. And scheduling ensures you’re publishing those videos at a time that is optimal for your audience.
Keep reading for a simple step-by-step guide to scheduling YouTube videos.
Bonus: Download the free 30-day plan to grow your YouTube following fast, a daily workbook of challenges that will help you kickstart your Youtube channel growth and track your success. Get real results after one month.
How to unlock the schedule YouTube videos feature
If you don’t already see “schedule” as an option when you go to post a video on YouTube natively, you’ll need to verify your account. The process is simple and quick.
Step 1: See if you’re already verified
If your business has already created a YouTube channel, click on your YouTube profile icon and choose the third dropdown option: YouTube Studio.
That will bring you to your channel dashboard. In the left hand column, underneath your profile icon, you will see more options available. Scroll down and select Settings.
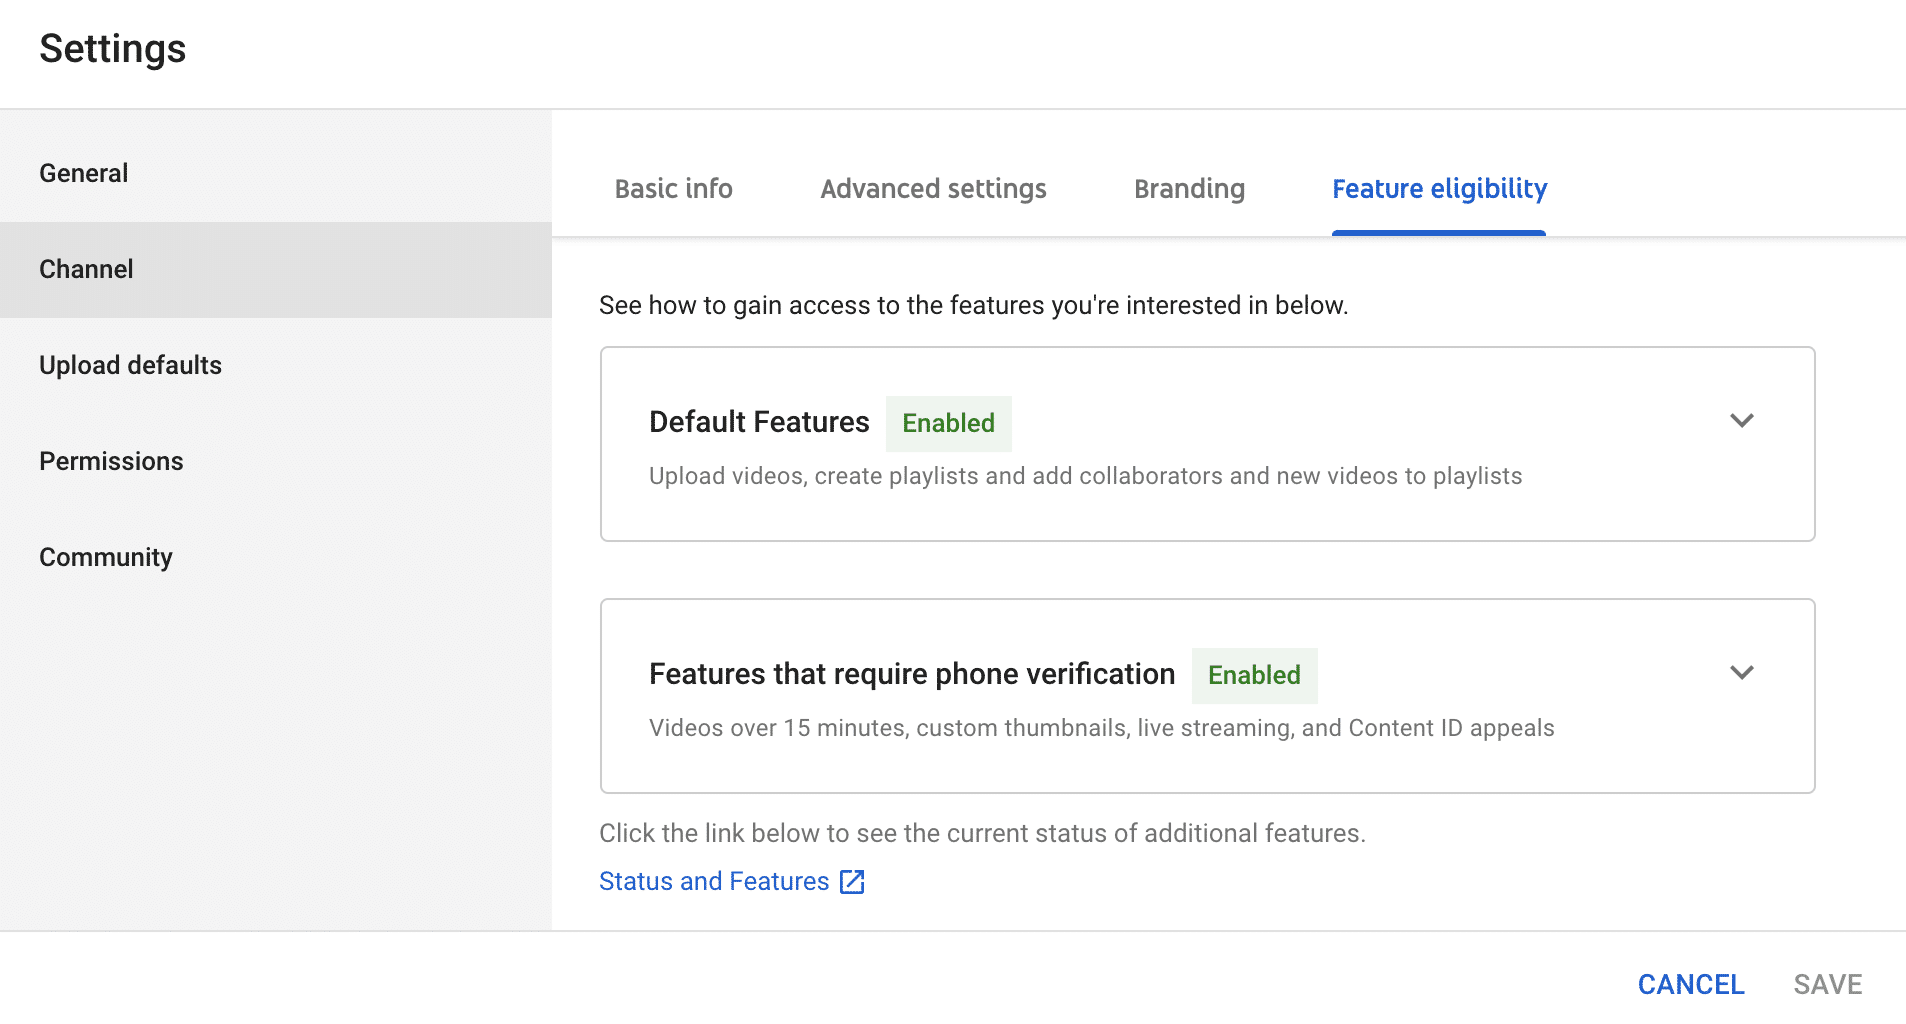
Once in Settings, click Channel then Feature eligibility. At the bottom of that section, click through to Statusand Features. Here, you’ll see if your account is already verified or you can begin the verification process.
Step 2: Prove you’re human
To get verified, YouTube will ask you to select the country you’re working in and how you’d like to receive your verification code. Then, you will be asked to provide a phone number.
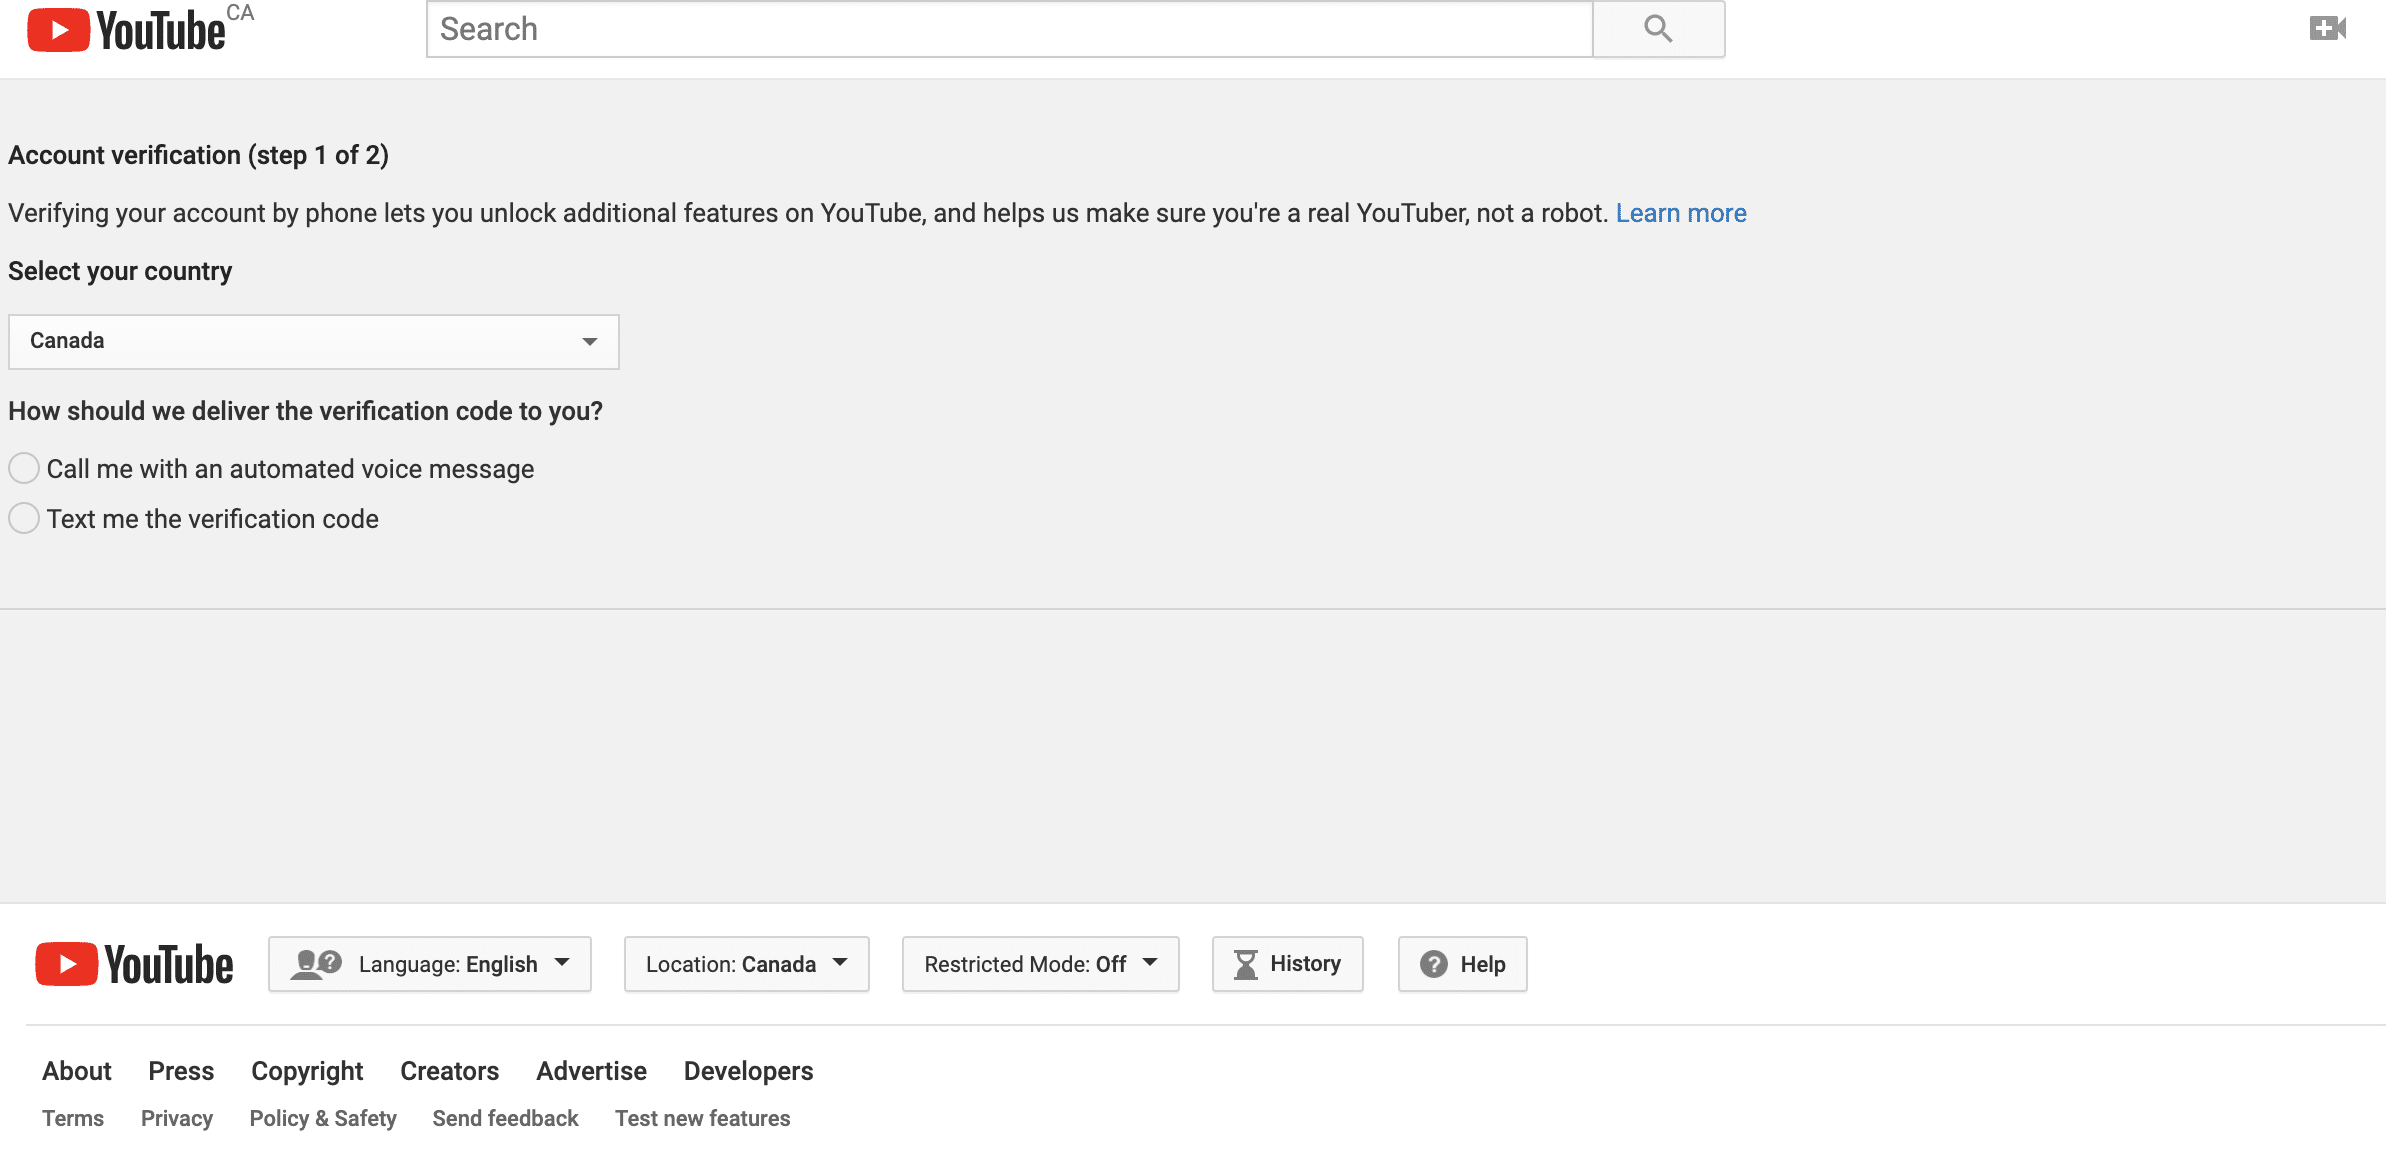
Step 3: Enter your verification code
Shortly after choosing your verification method, you will receive a six-digit code. Depending on which option you chose, that will arrive via text message or to your phone as an automated voice message. Enter that into the box provided and click Submit.
Step 4: You’re verified!
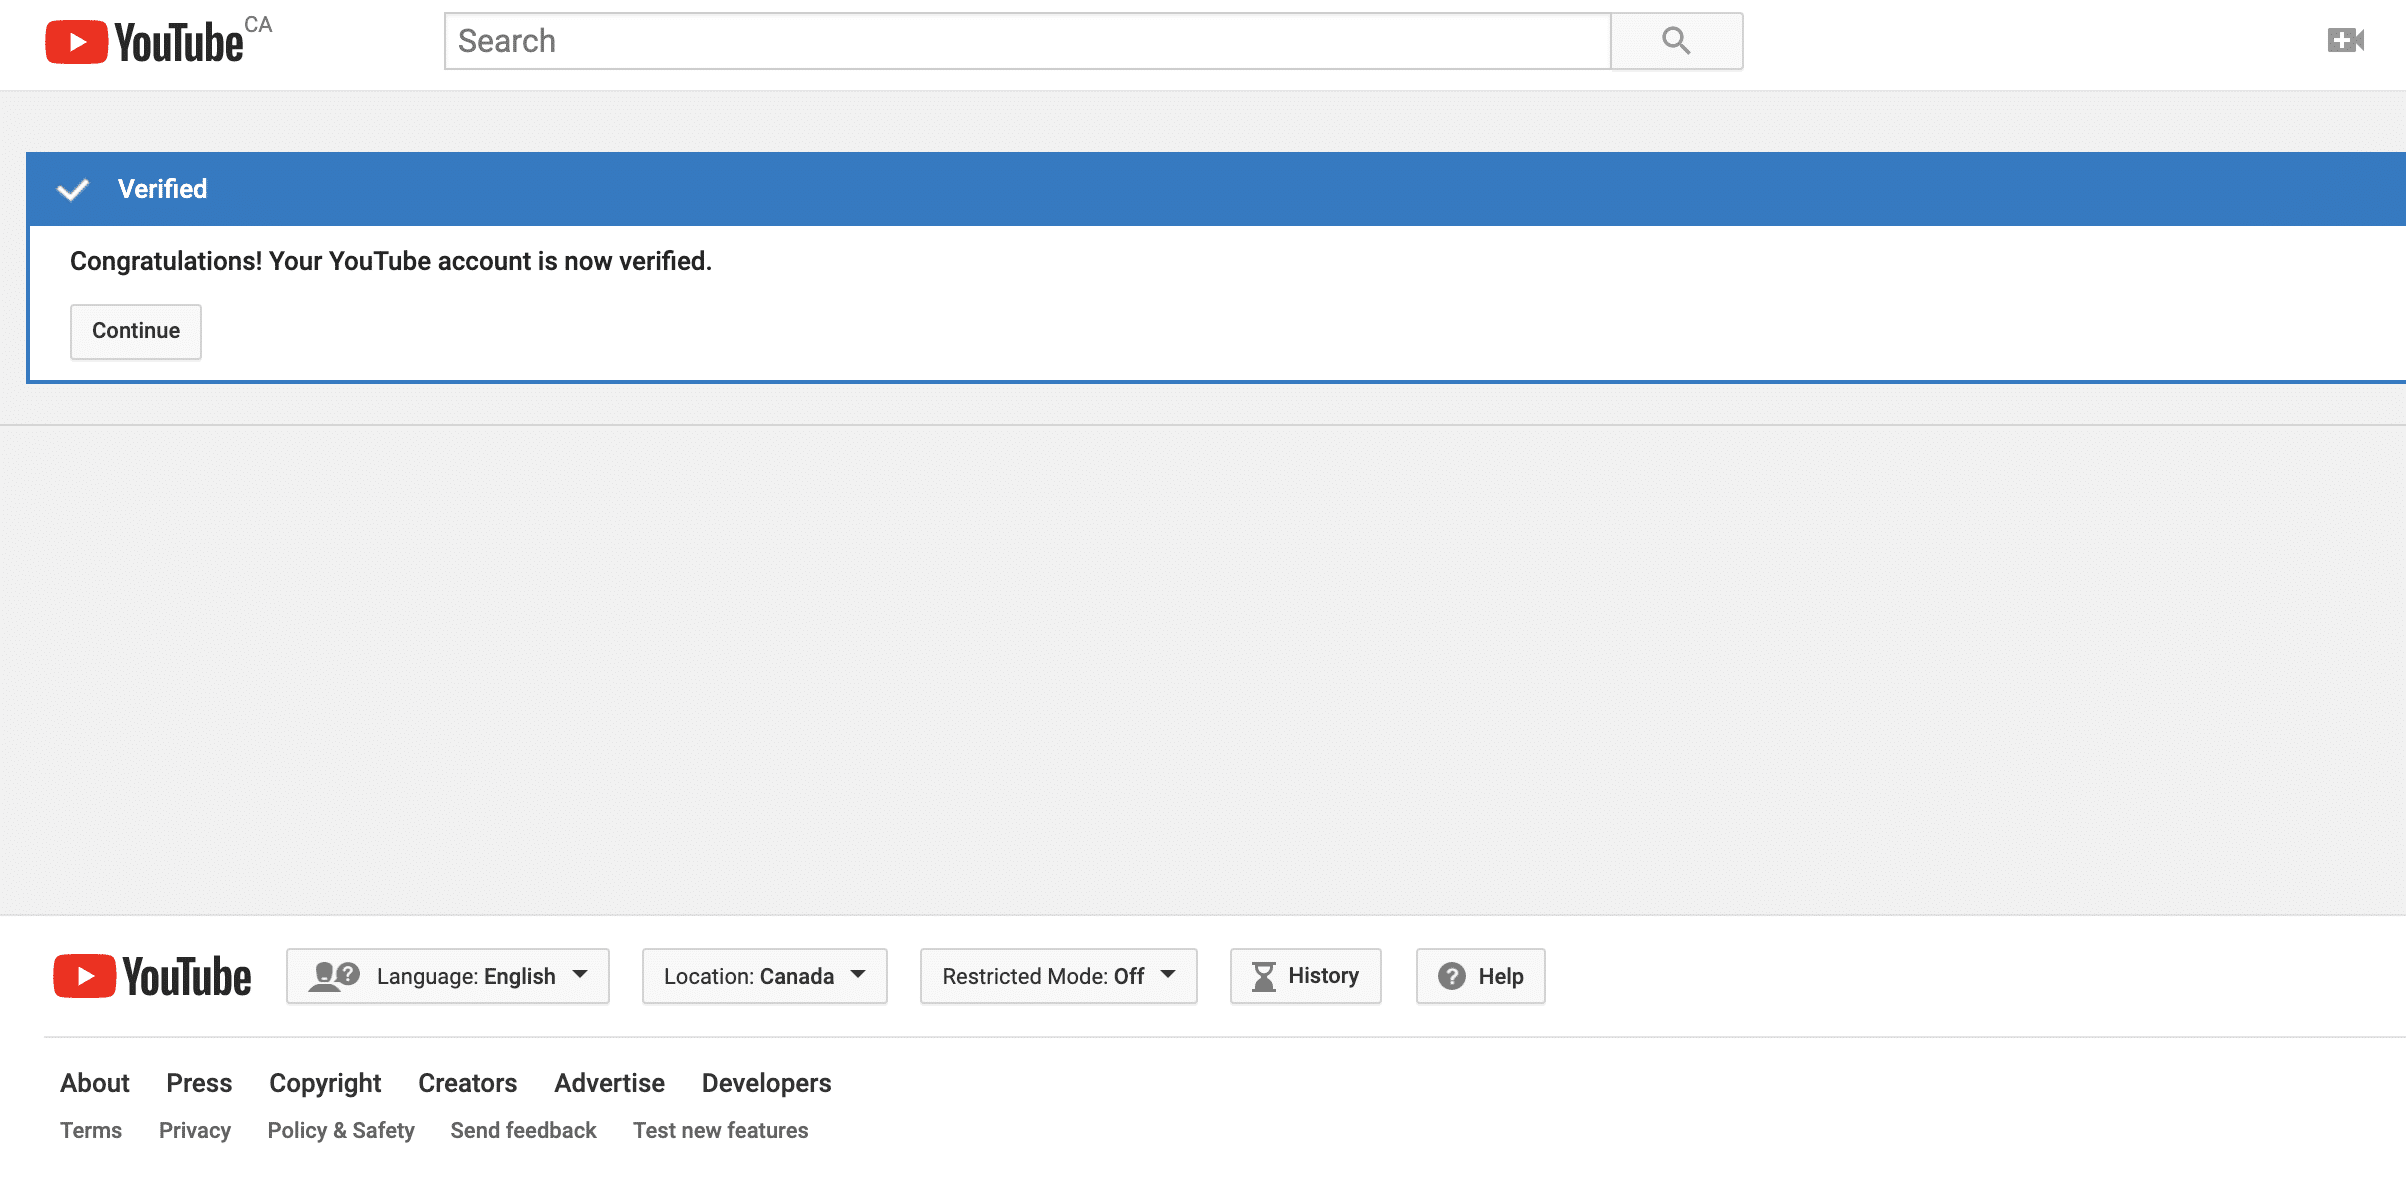
That’s it!
Verifying your channel will also give you access to a few other YouTube features, like custom thumbnails and longer videos:

As you gain more followers, more features will become available to you. For example, if you have more than 1,000 subscribers and more than 4,000 public watch hours in the last year to be eligible for the YouTube Partner Program. This is something that celebrities and brands with large followings might benefit from. YouTube has a special application process for users to access this.
But regardless of your stats, you can begin scheduling your videos. Keep reading to learn how.
How to schedule YouTube videos from YouTube
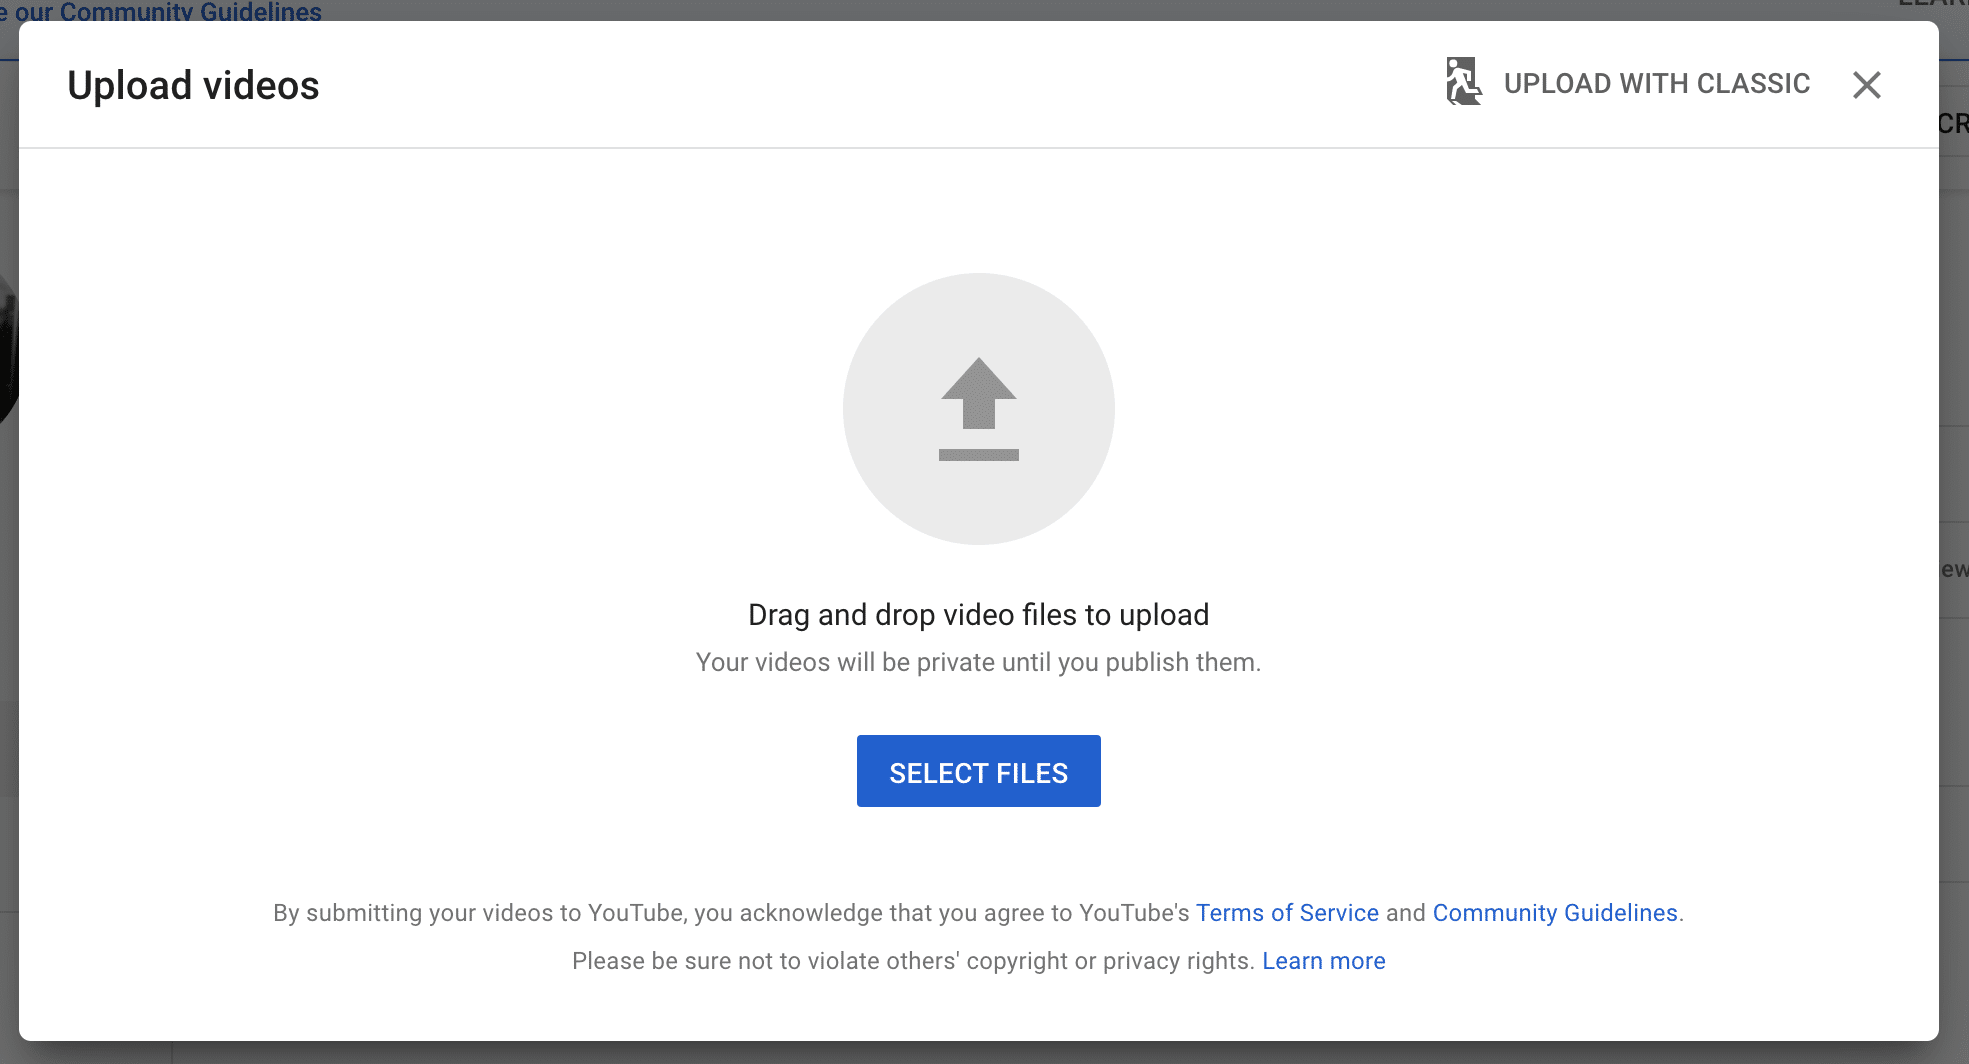
Step 1: Upload your video
Click on the camera icon in the top right hand corner of YouTube. Or, click on the red Create button if you’re in YouTube Studio. Then, drag and drop your video to upload.

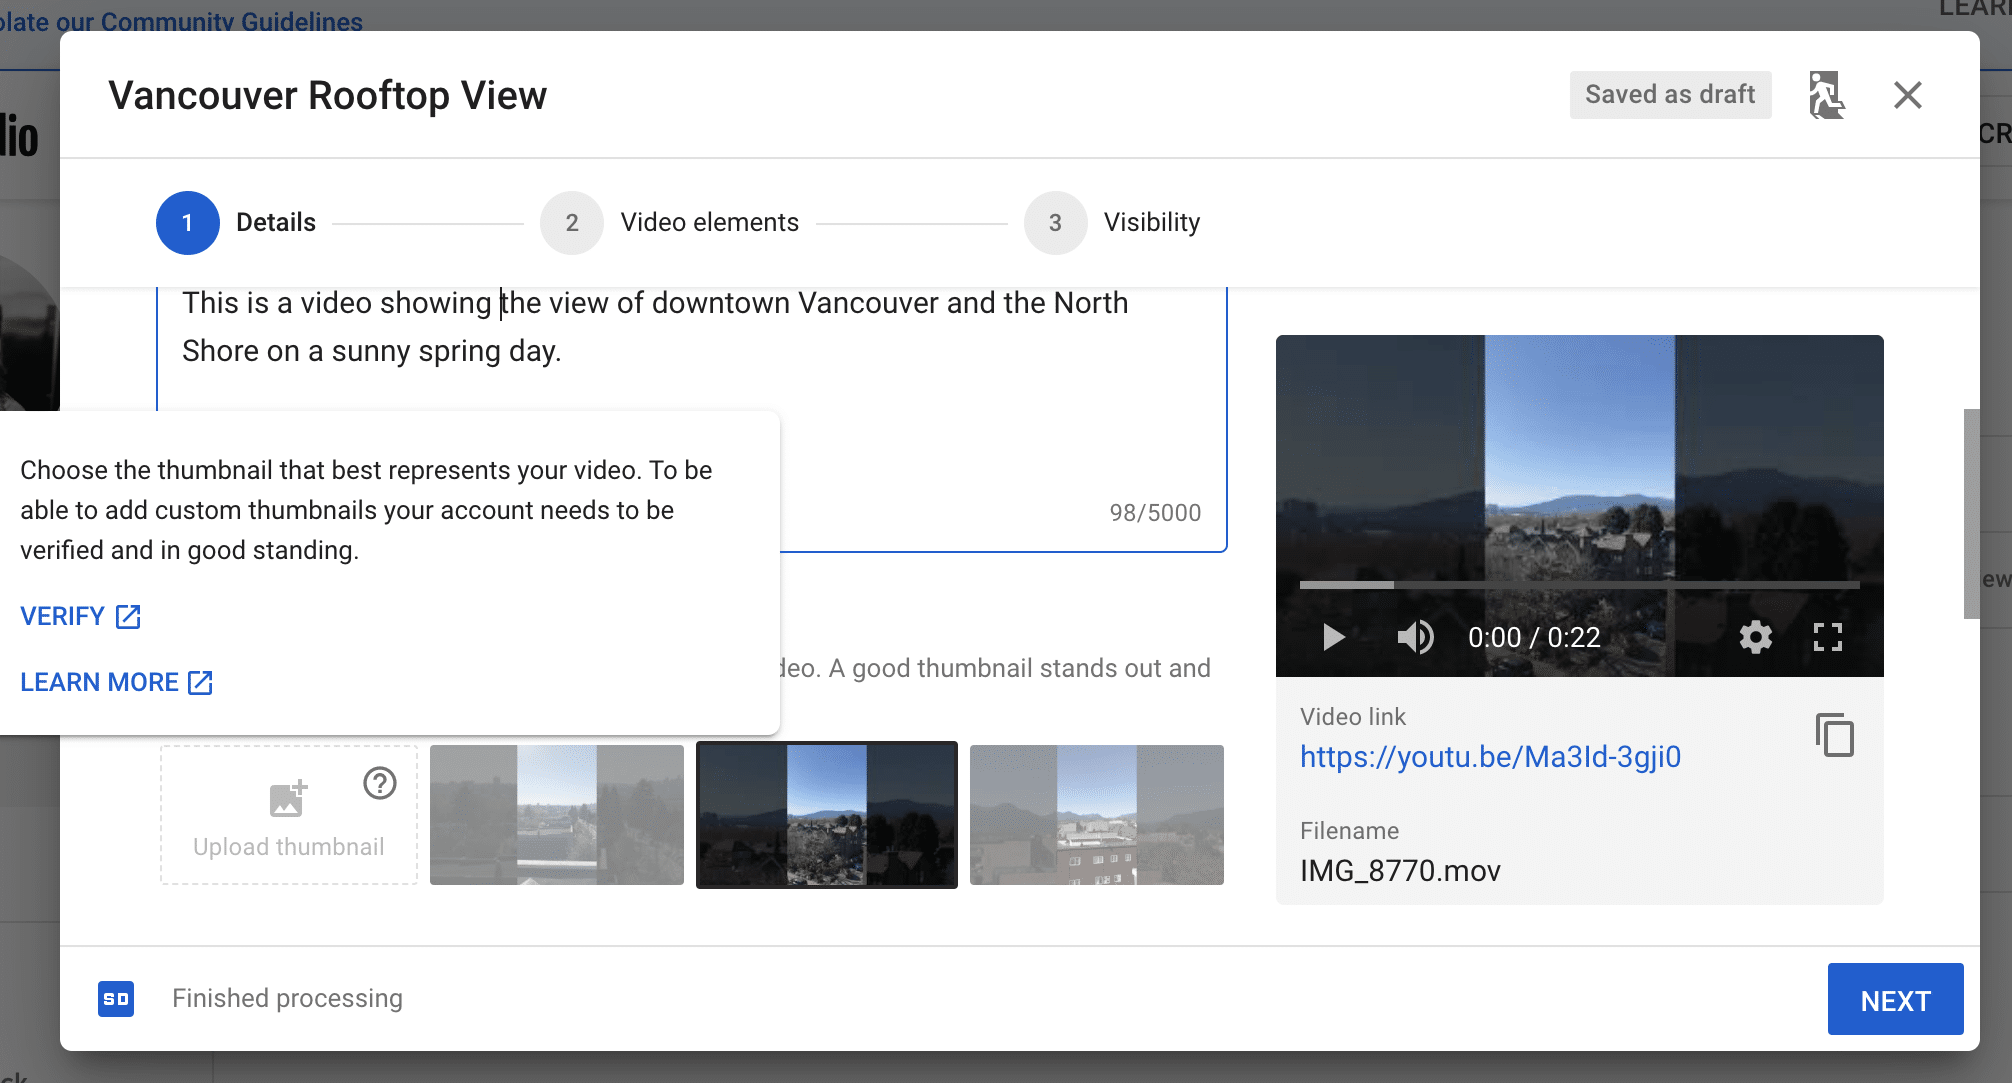
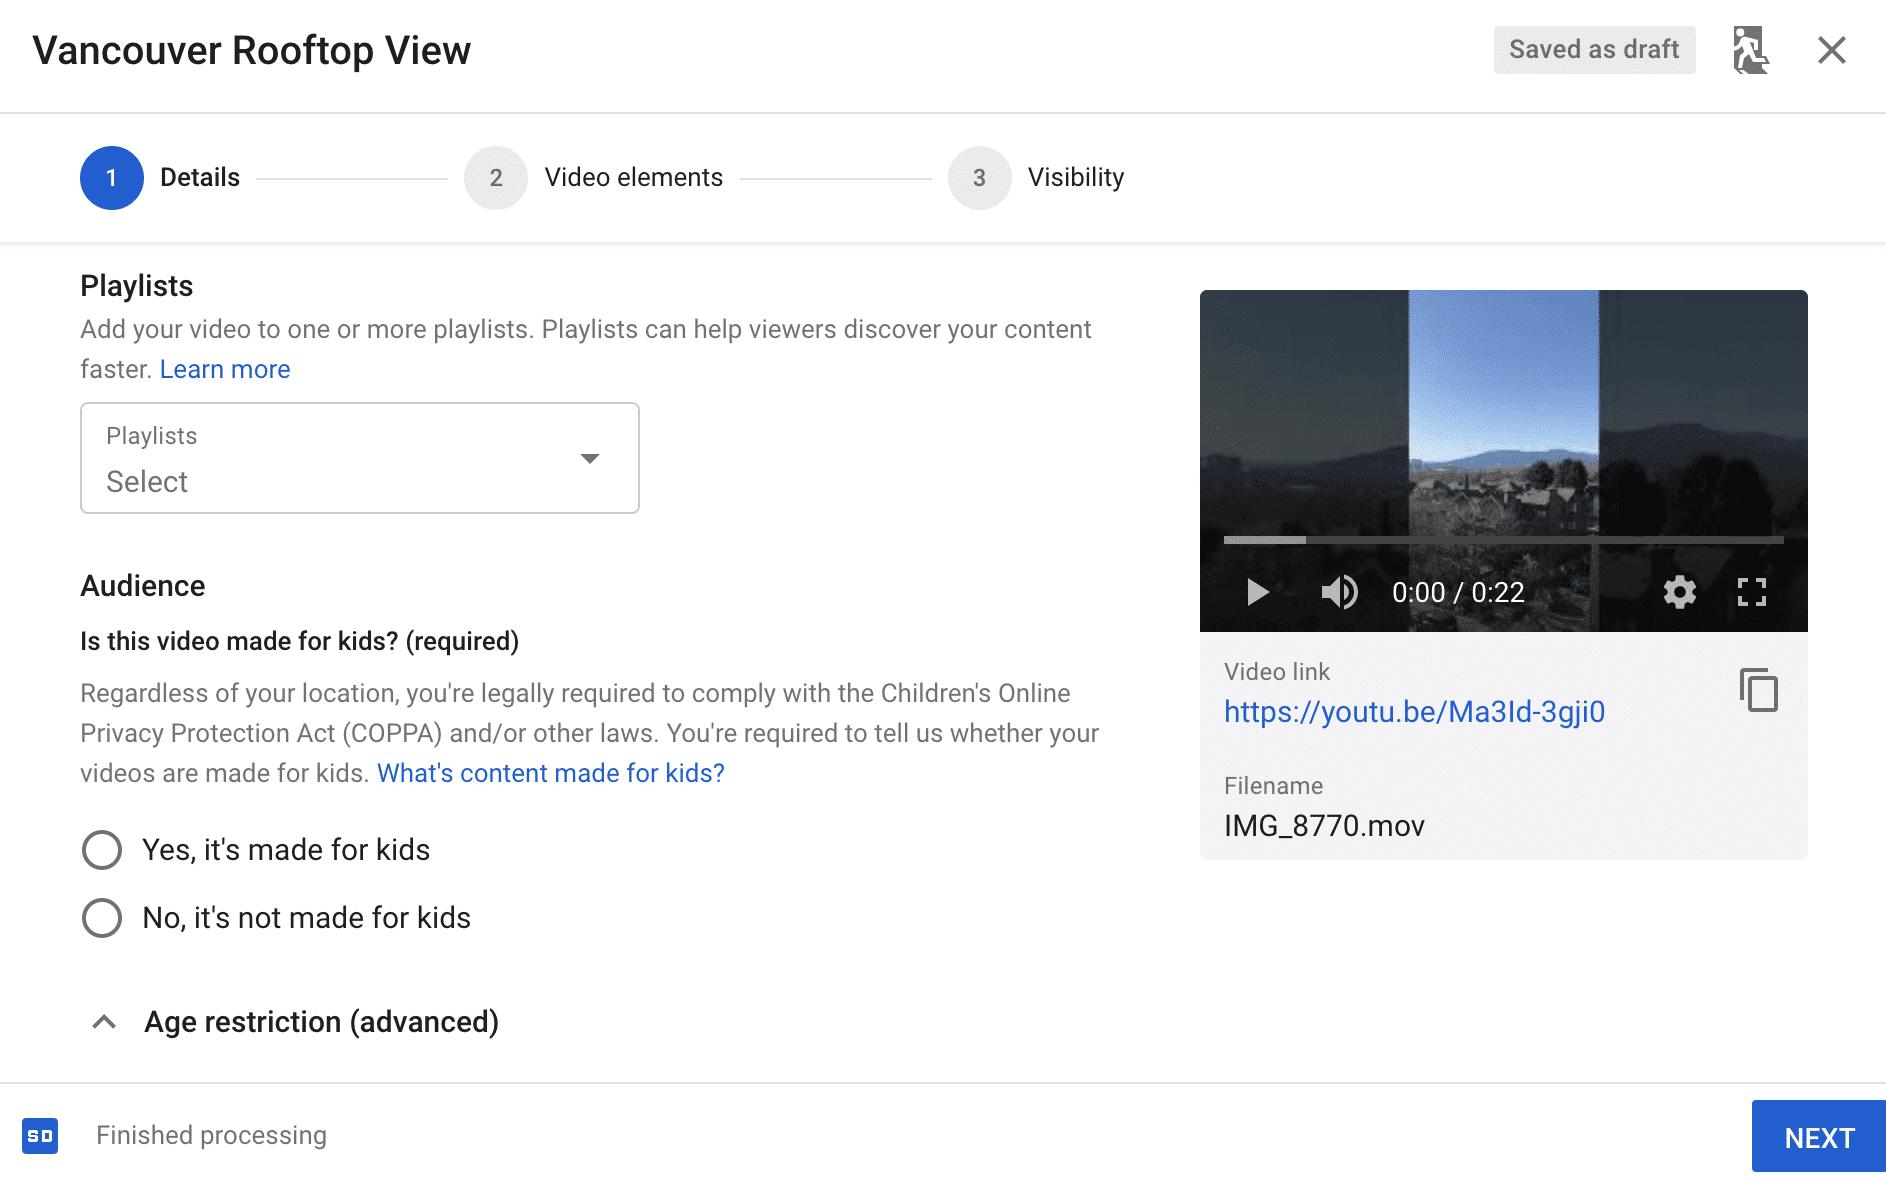
Step 2: Add your video details
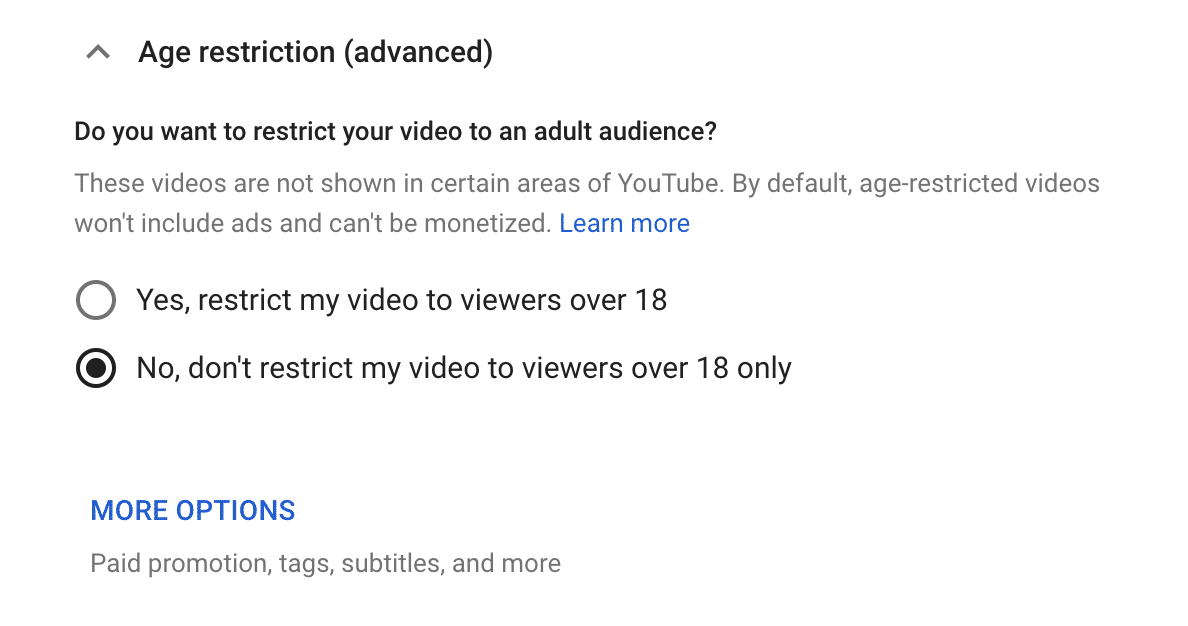
Add a title, a description and a thumbnail image. This is also when you’ll select which playlist you’d like your video to appear in, audience details for the video. Finally, you can place any age restrictions here.
Note: There’s another option to verify your account and unlock the schedule YouTube videos feature once you get to this step. Hover over the thumbnail section, which explains that to add a custom image you will have to verify your account. Then, click Verify and go through the same steps as outlined in the previous section.
Step 3: Select Schedule
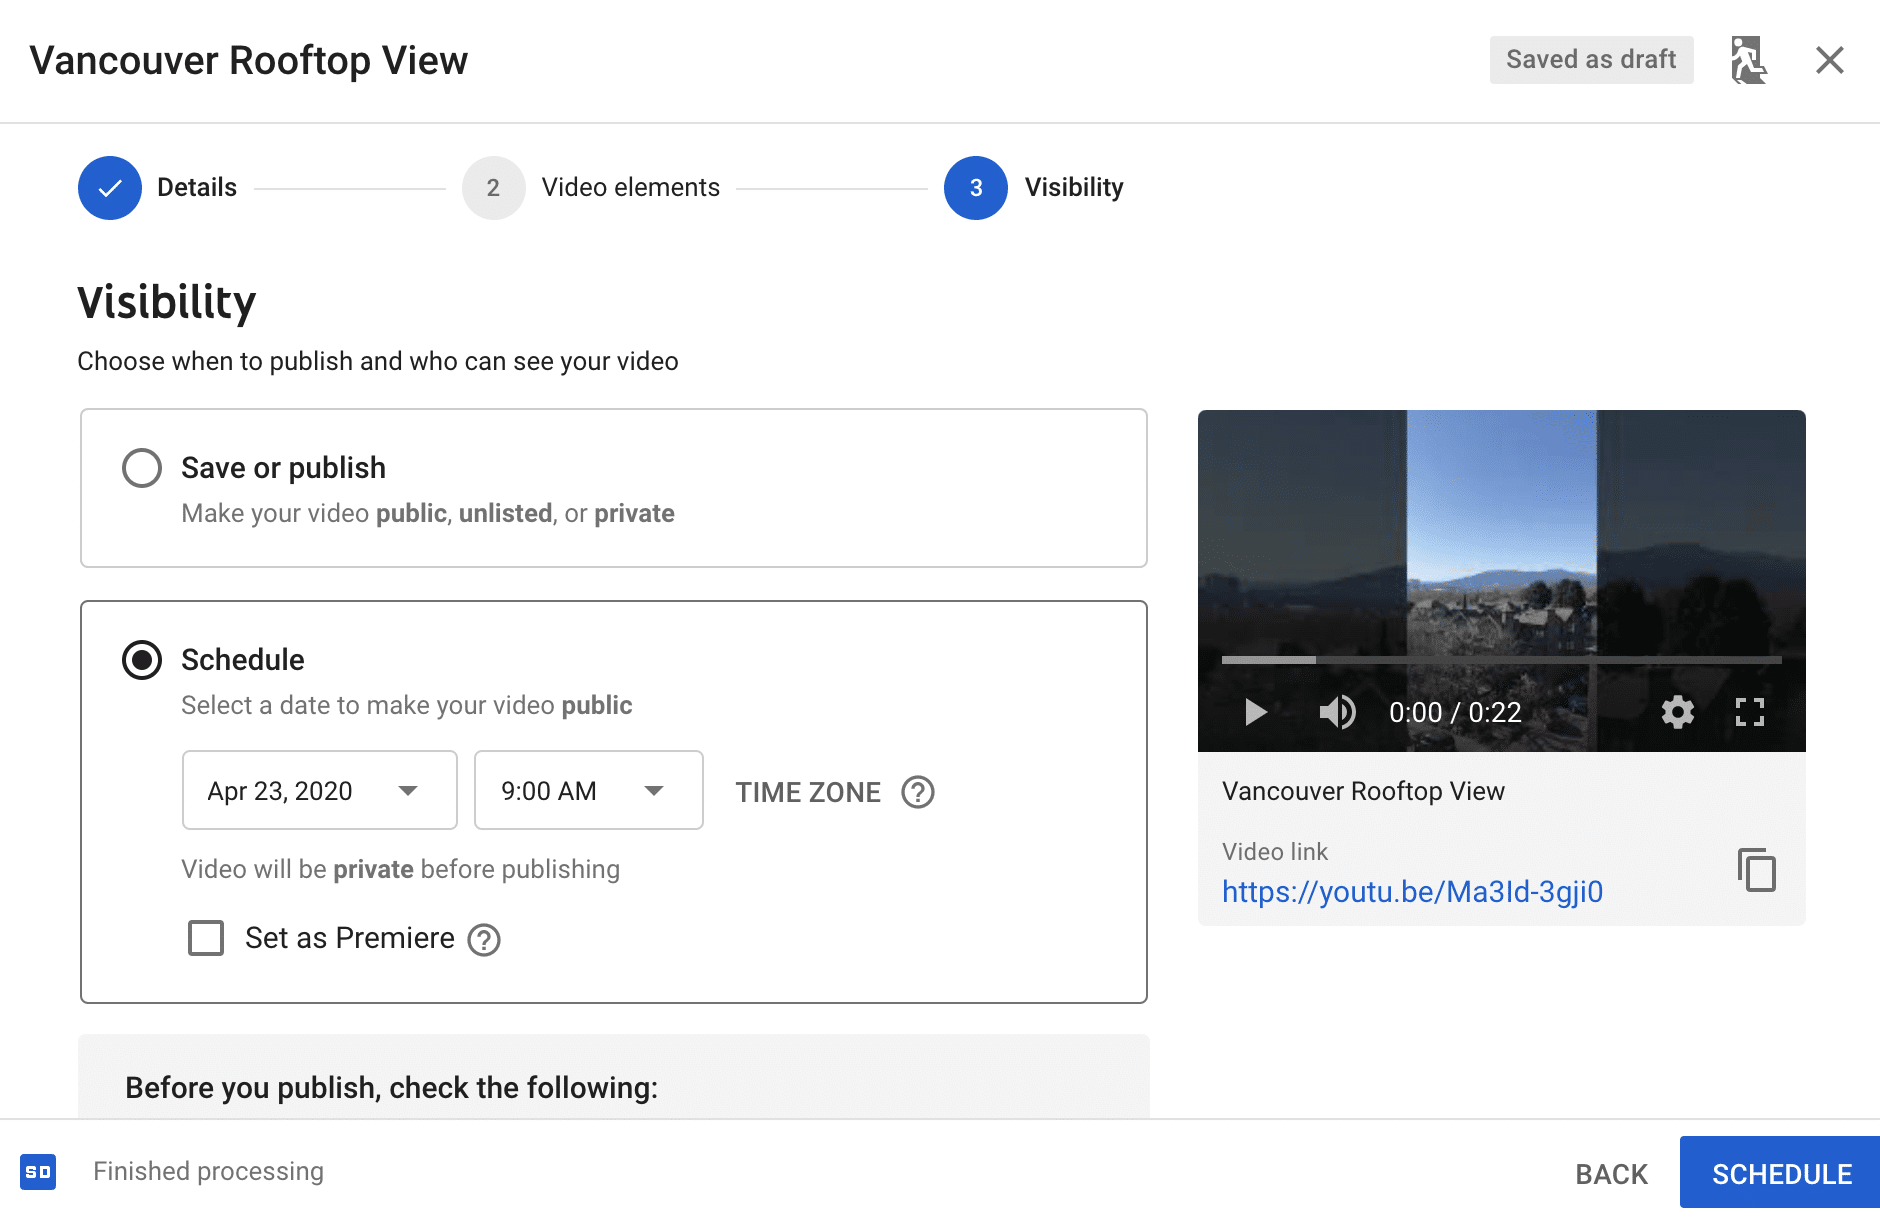
After working through both the Details and Video elements tabs, you will end up at the Visibility tab. This is when you’ll see the options to save, publish or schedule. First, choose whether you want the video to be public or private once it goes live.
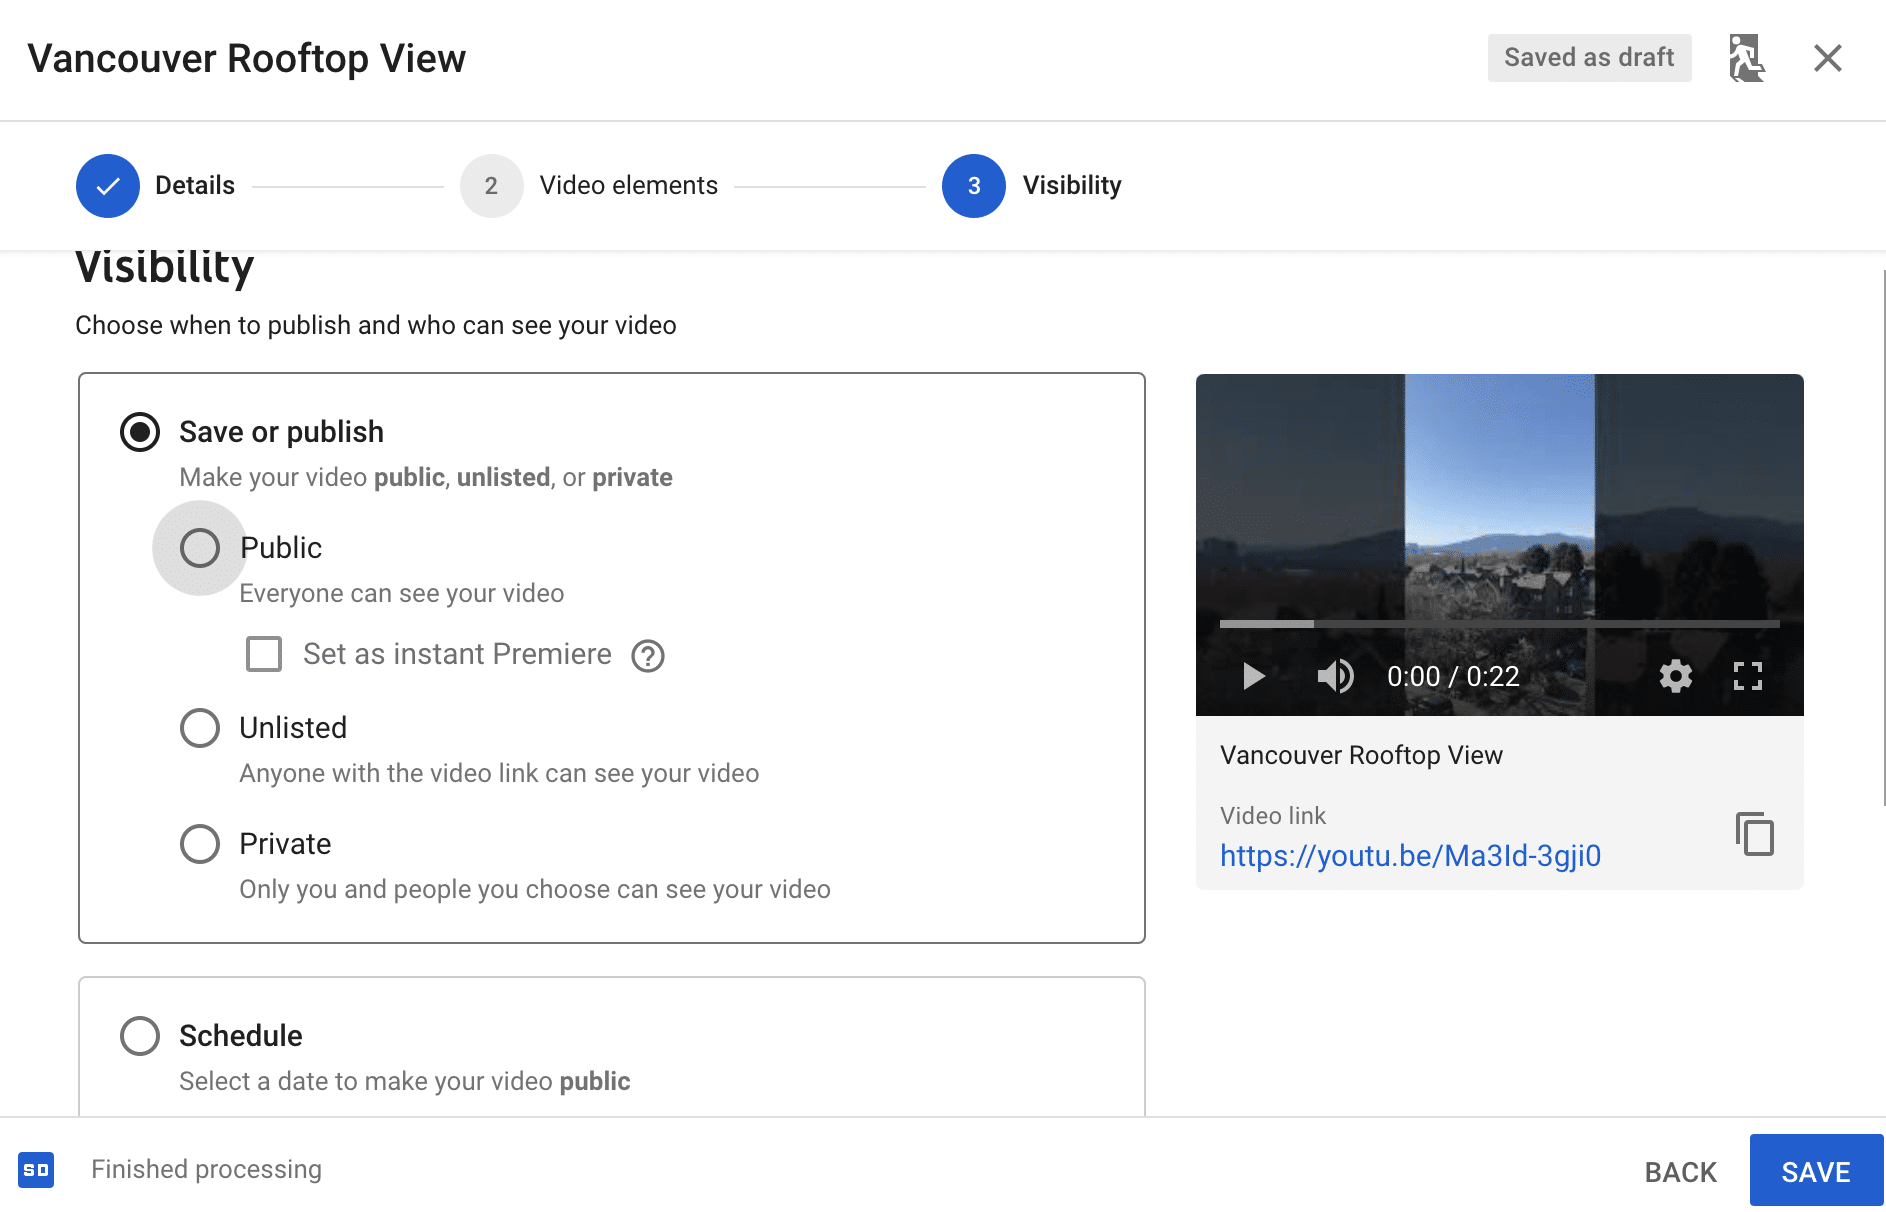
Then, click Schedule. This is when you enter the date and time you’d like your video to go live.
Step 4: Click Schedule
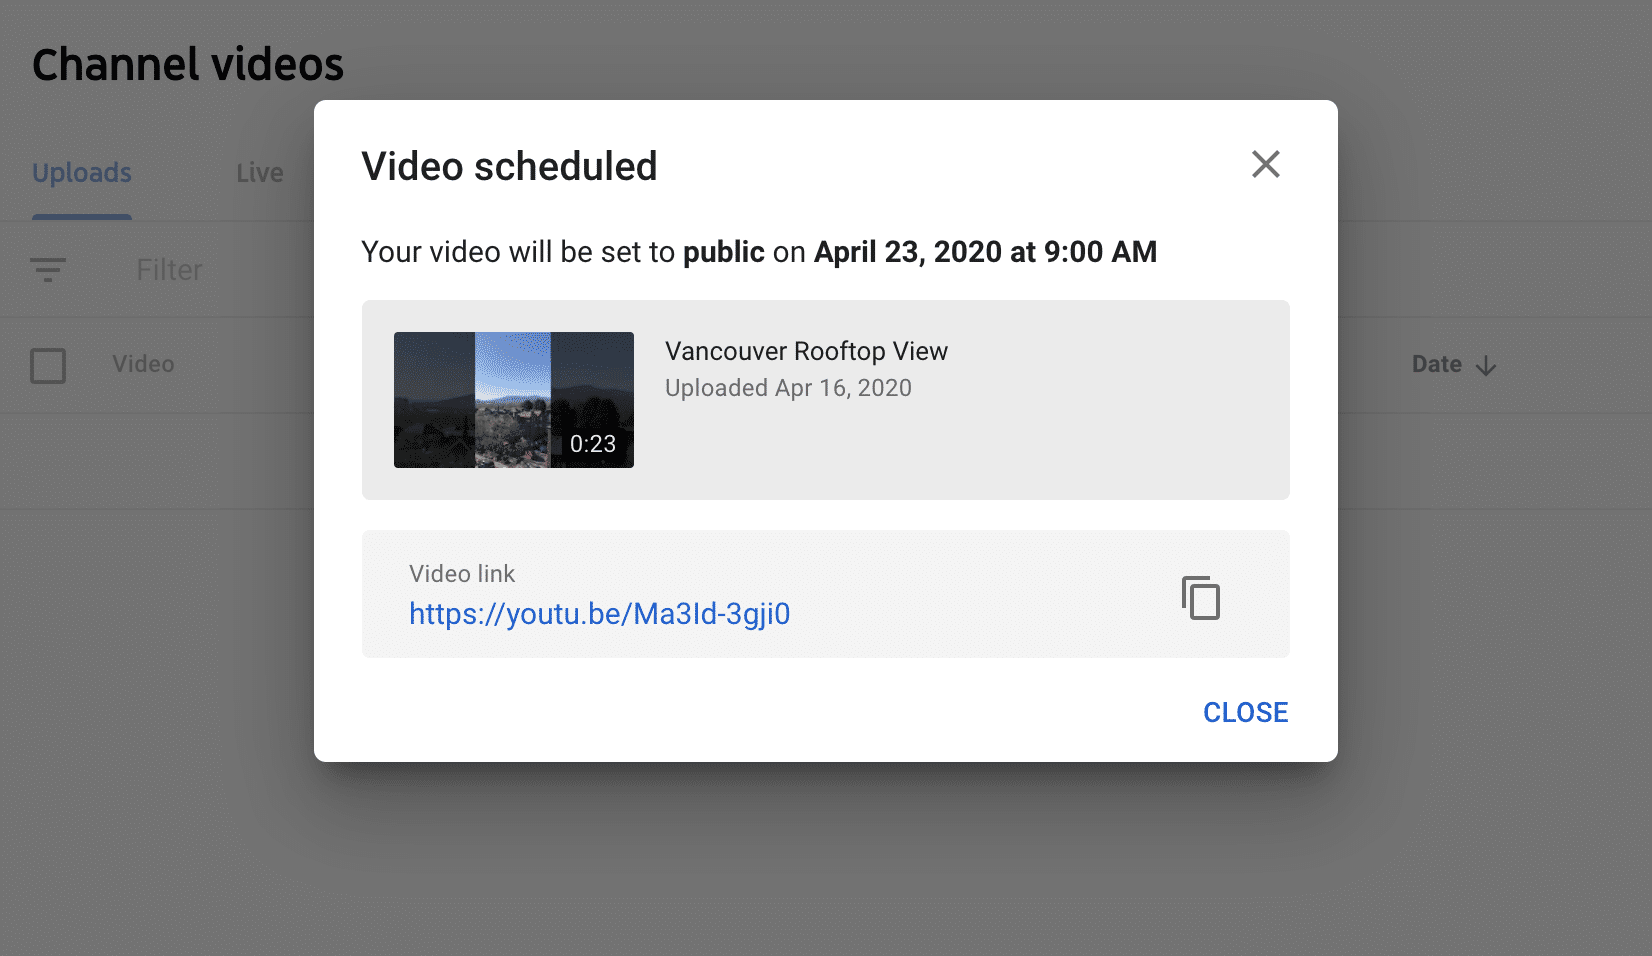
That’s it! You’ll see this notification if your video has been scheduled successfully.
How to schedule a YouTube video with Hootsuite
Using a social media management tool like Hootsuite to schedule YouTube videos can save you time if you’re publishing content to multiple social networks.
Step 1: Connect your YouTube account with Hootsuite
Click on your Hootsuite profile account. Select Manage Social Networks from the dropdown and click Add Network. That will bring you to this screen:
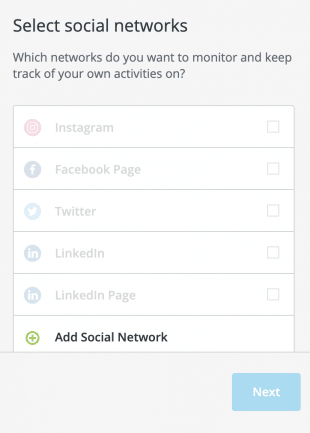
Click Add Social Network and Next. Then, choose YouTube and complete the steps to connect the channels. You will have to give Hootsuite permission to access YouTube before the connection will work.

Step 2: Compose your scheduled video
Instead of clicking on the green “New Post” button, click on the dropdown arrow. Choose Open Legacy Composer.
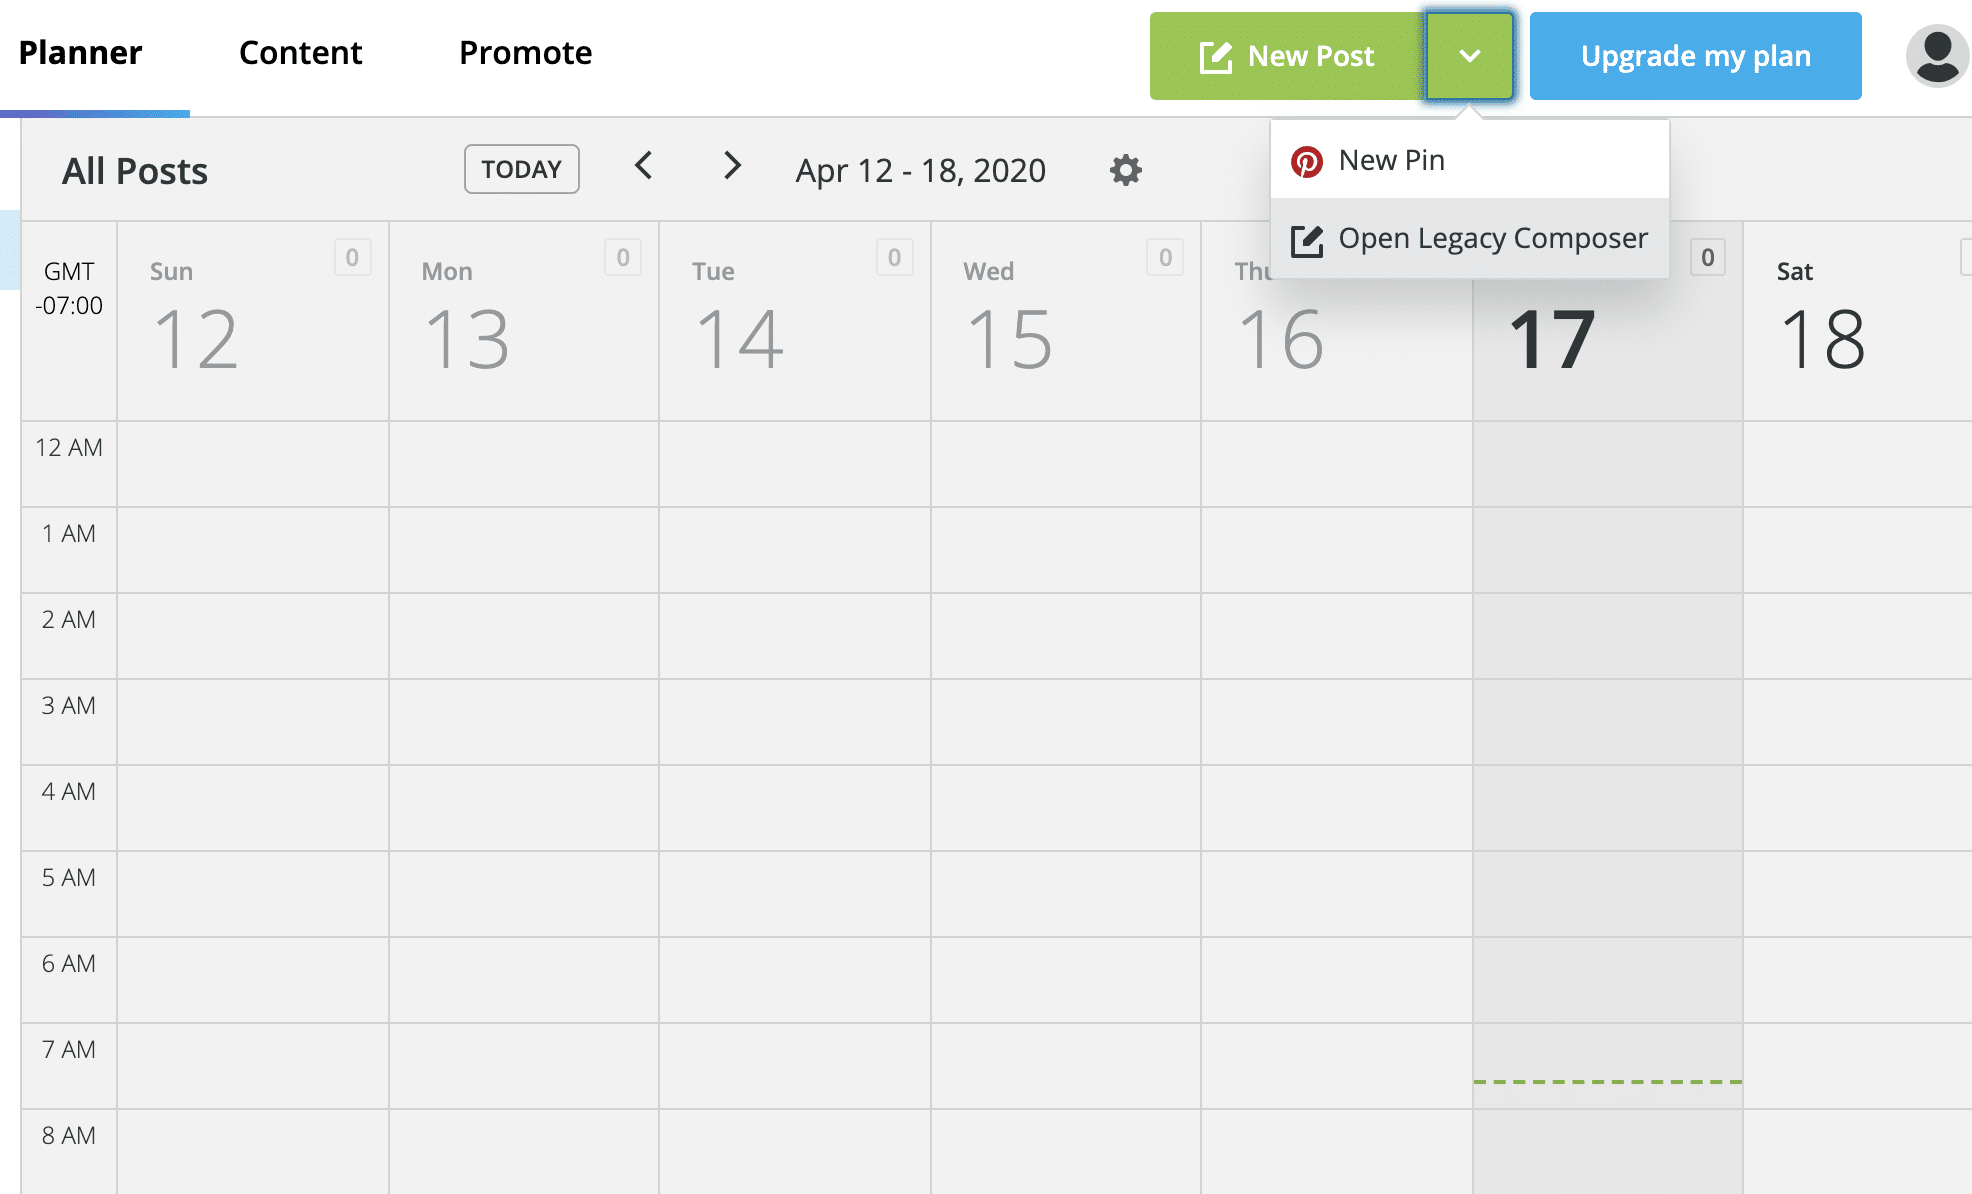
That will take you this screen:
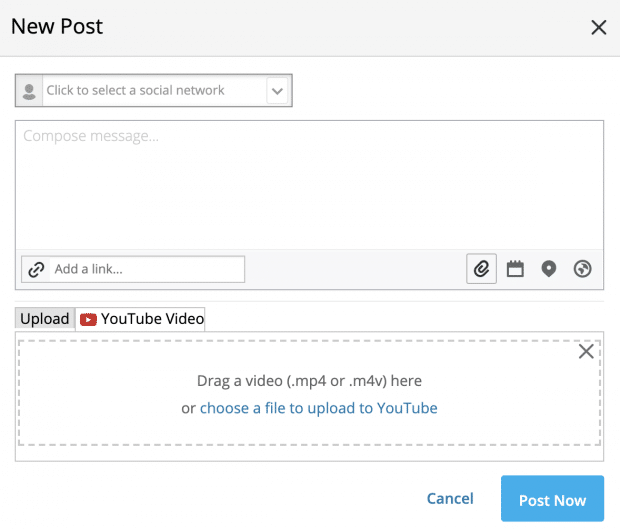
Step 3: Drag and drop your video file
First, make sure your file is saved in the right format. Only MP4 and M4V files are accepted. Click Attach media — the paper clip icon — and select YouTube Video.
Once you drag and drop the file, the following screen will automatically pop up:

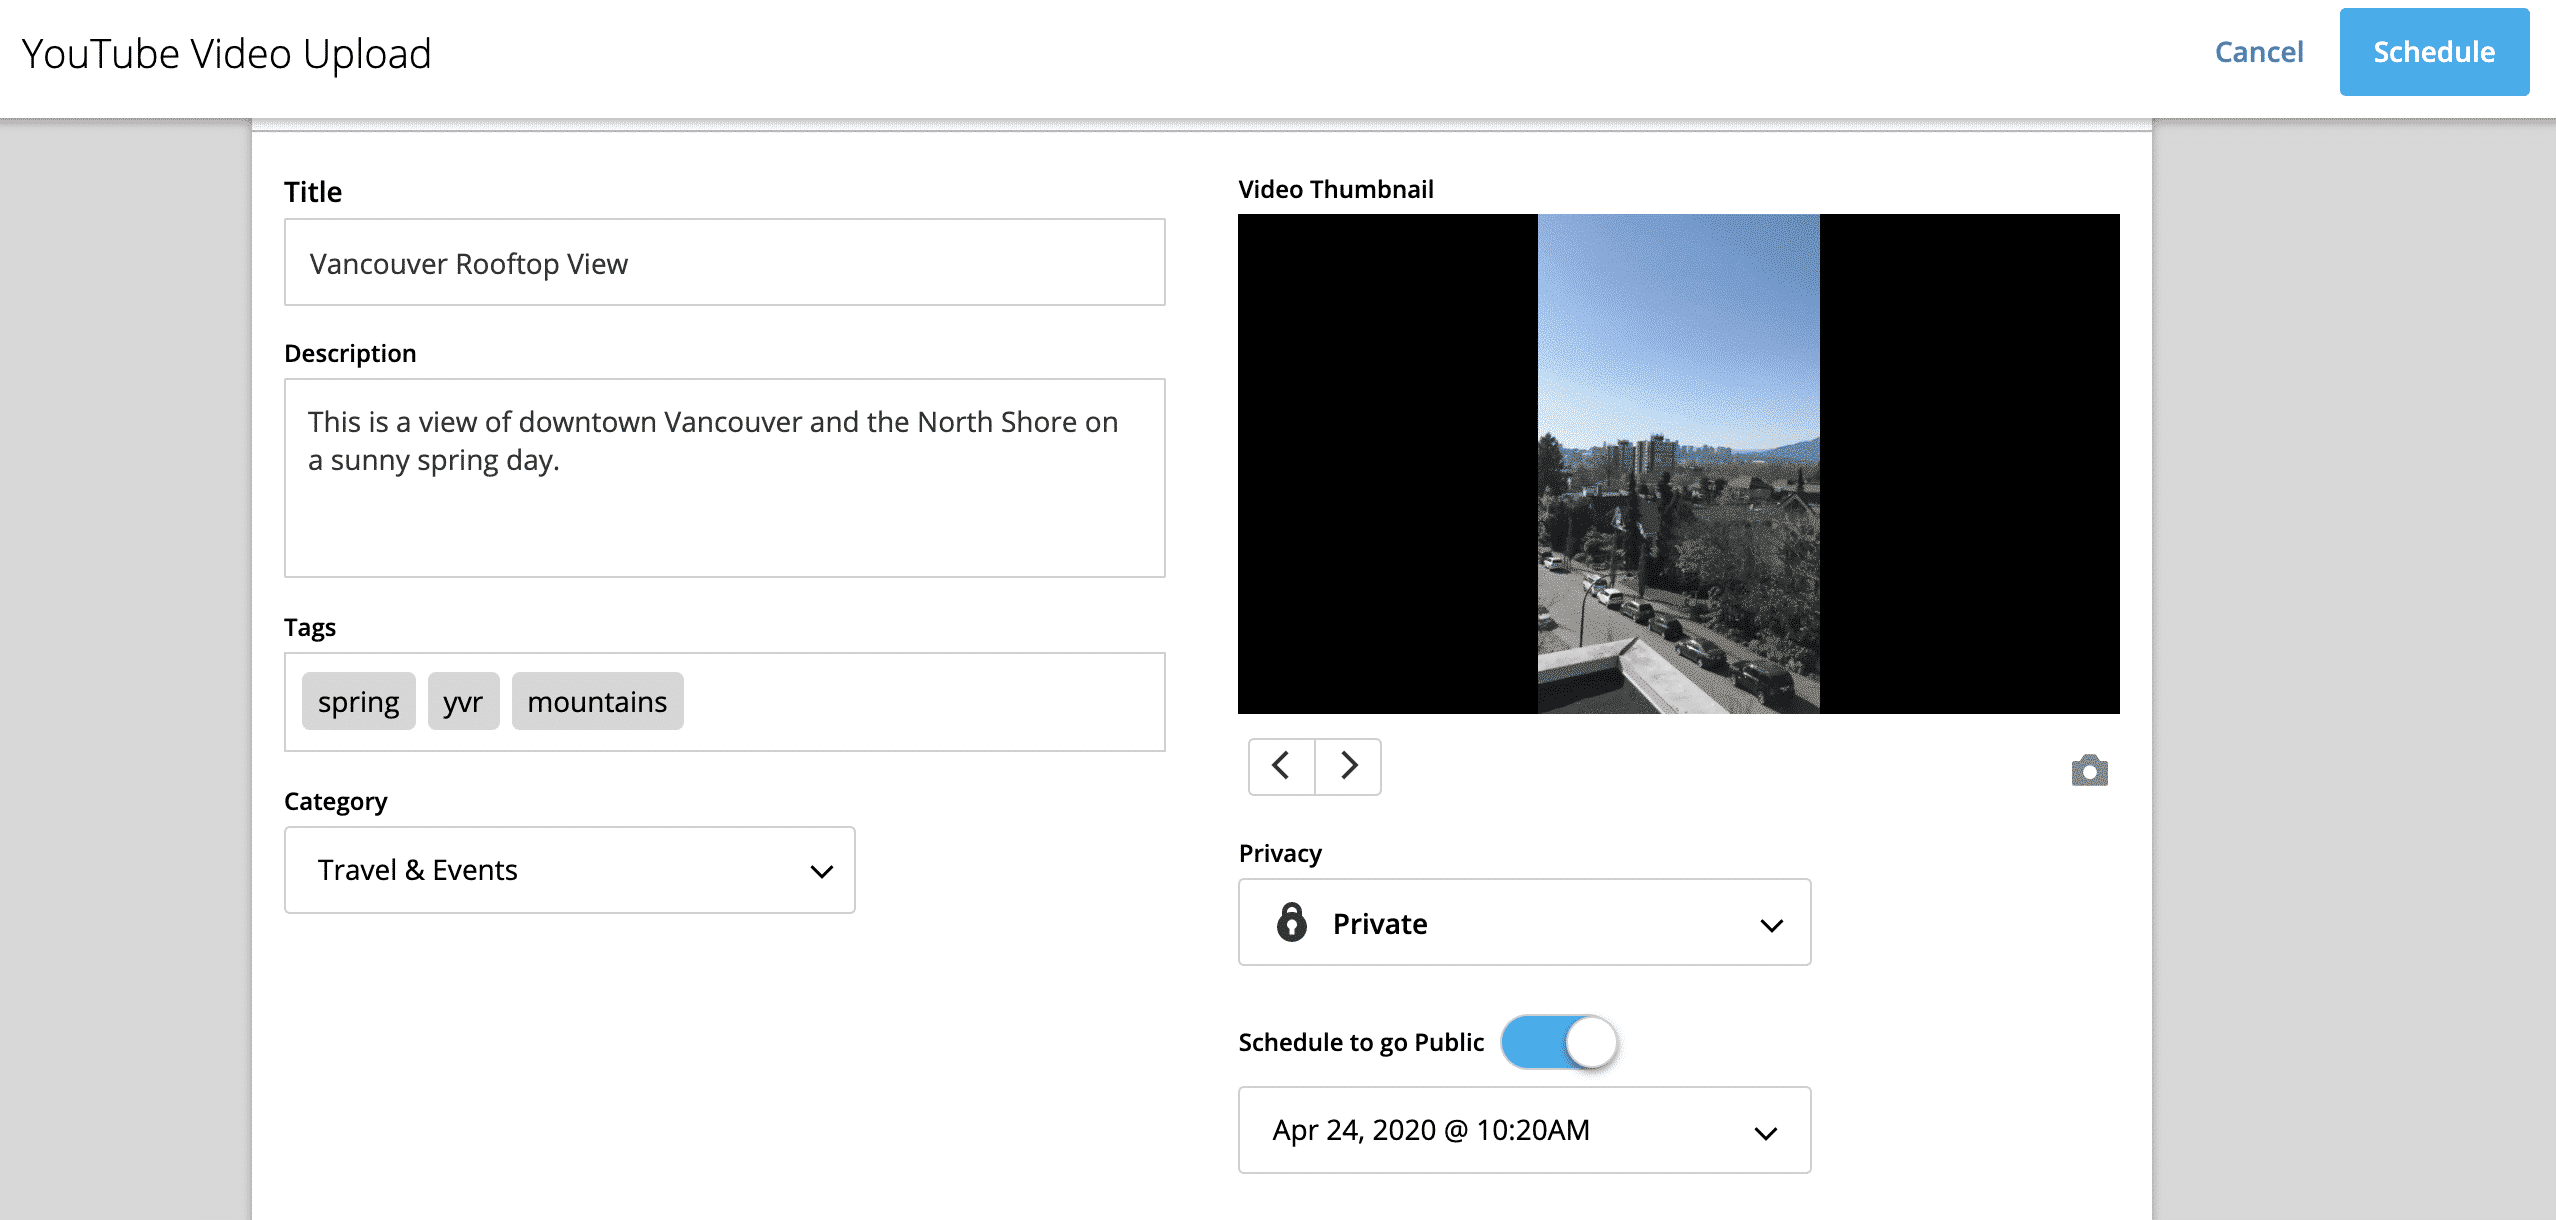
Your YouTube channel will show next to the processing upload bar. If you’ve connected several YouTube channels, use the dropdown to choose the channel you want your video to publish to.
Then enter a title, description, tags and category.
Step 4: Schedule your video
Under the Privacy section, choose to keep your video private. Under that, toggle the option to schedule your YouTube video to go public. Choose the date and time you want your video to go live to the public.
Step 5: Make sure you receive a confirmation notice
After you click on the blue Schedulebutton, you’ll receive a confirmation notification. This tells you the scheduling was successful.
You’ll see the scheduled video in Hootsuite’s Planner view and also under Scheduled messages in the Content view.
And voila. Now you can also schedule your video to Facebook, Instagram, or Twitter without having to sign in to another tool.
How to schedule a YouTube video on a phone
To schedule a YouTube video from your phone, you will need to download two apps to your phone: the YouTube app and the YouTube Studio app.
Step 1: Upload your video to the YouTube app
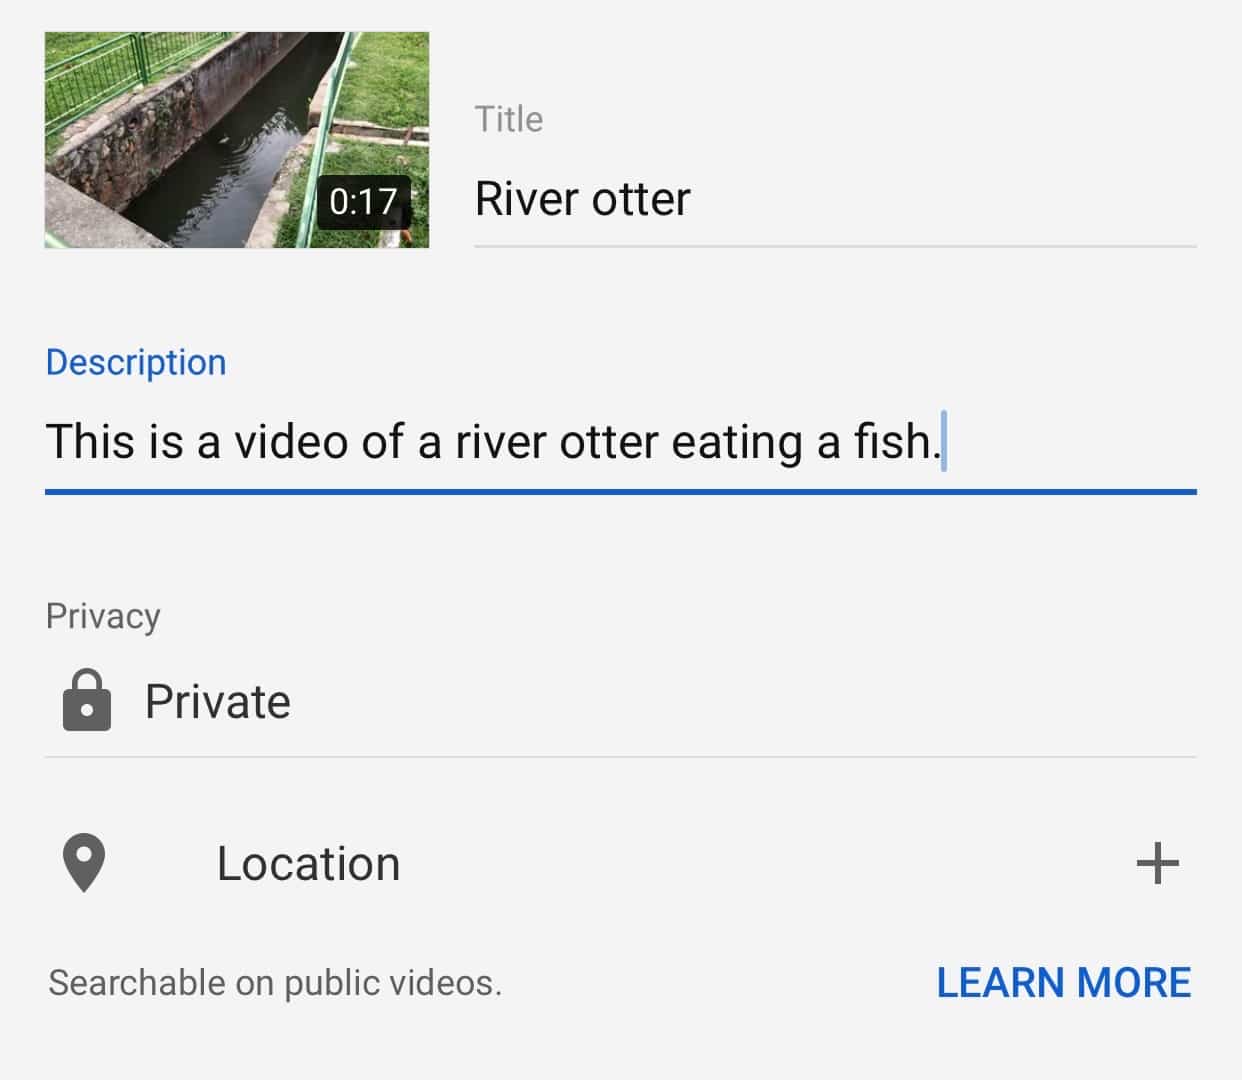
After you’ve logged into the YouTube app on your phone, click on the camera icon. Choose the video you’d like to upload. Then, click Next.
Add a video title, description and location. Then, make sure the video is marked as private. Click Upload.
Step 2: Open the YouTube Studio app
Switch which app you’re working in. In the YouTube Studio app, you’ll see the private video you just uploaded.
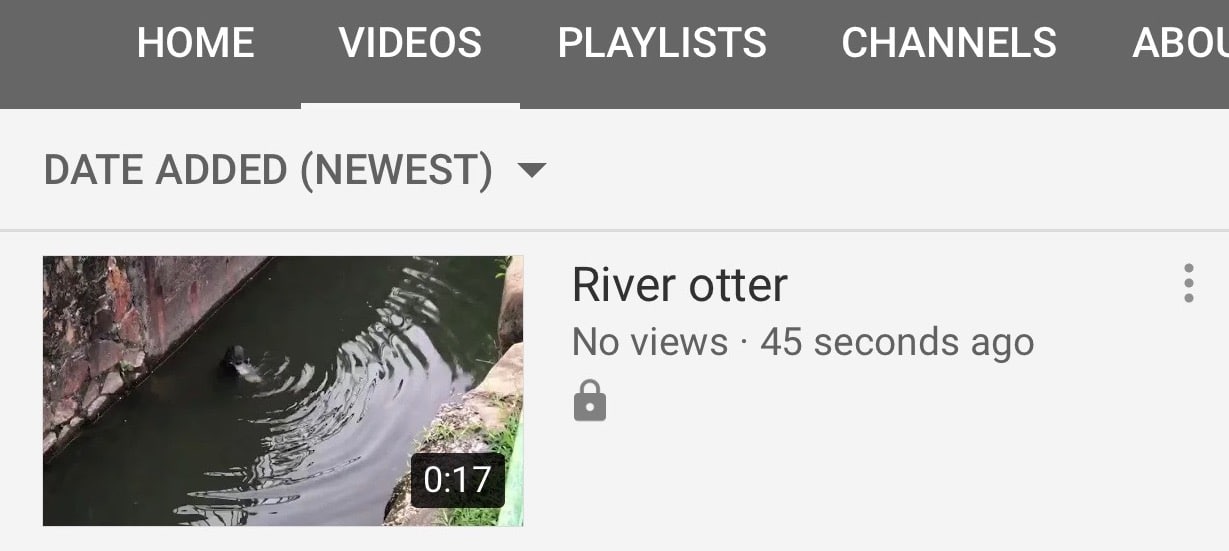
Step 3: Edit the private video
Click on that private video from your list of videos. That will take you to a screen like this:
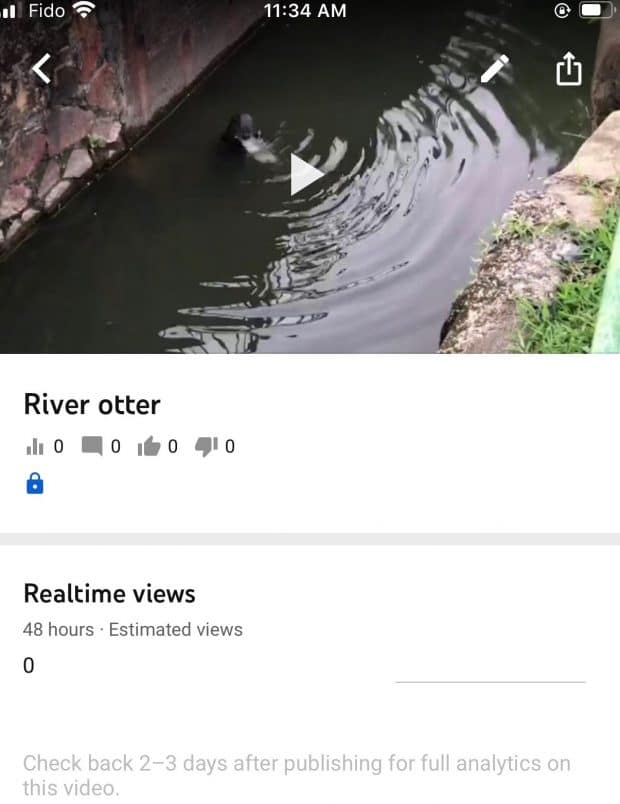
Then, click on the Edit button. This is the pencil icon in the top right hand corner.
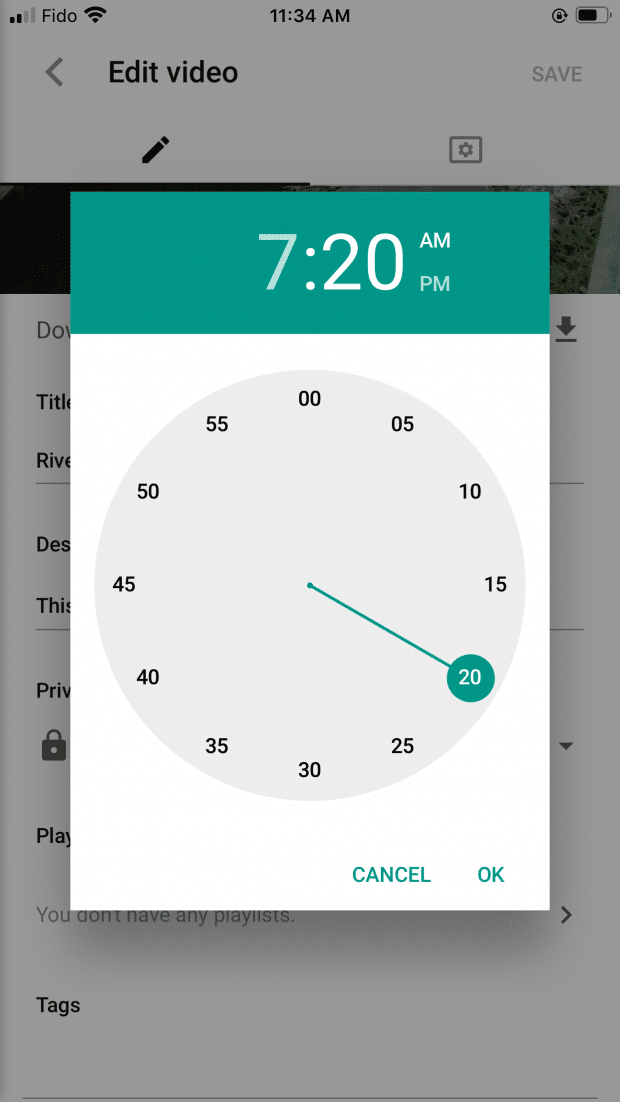
Step 4: Schedule your video to go public
Change the video from private to Scheduled

Then, select the date and time you want your video to go public.
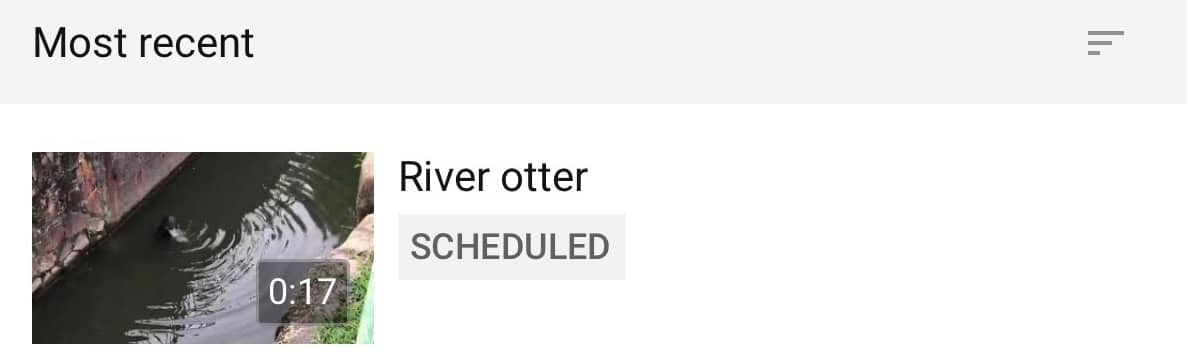
Step 5: Click Save to schedule
That’s it! When you revisit your list of videos, you will see that it has been scheduled successfully.
How to edit a YouTube video after you’ve scheduled it
You can edit your video in YouTube, even after it’s been scheduled.
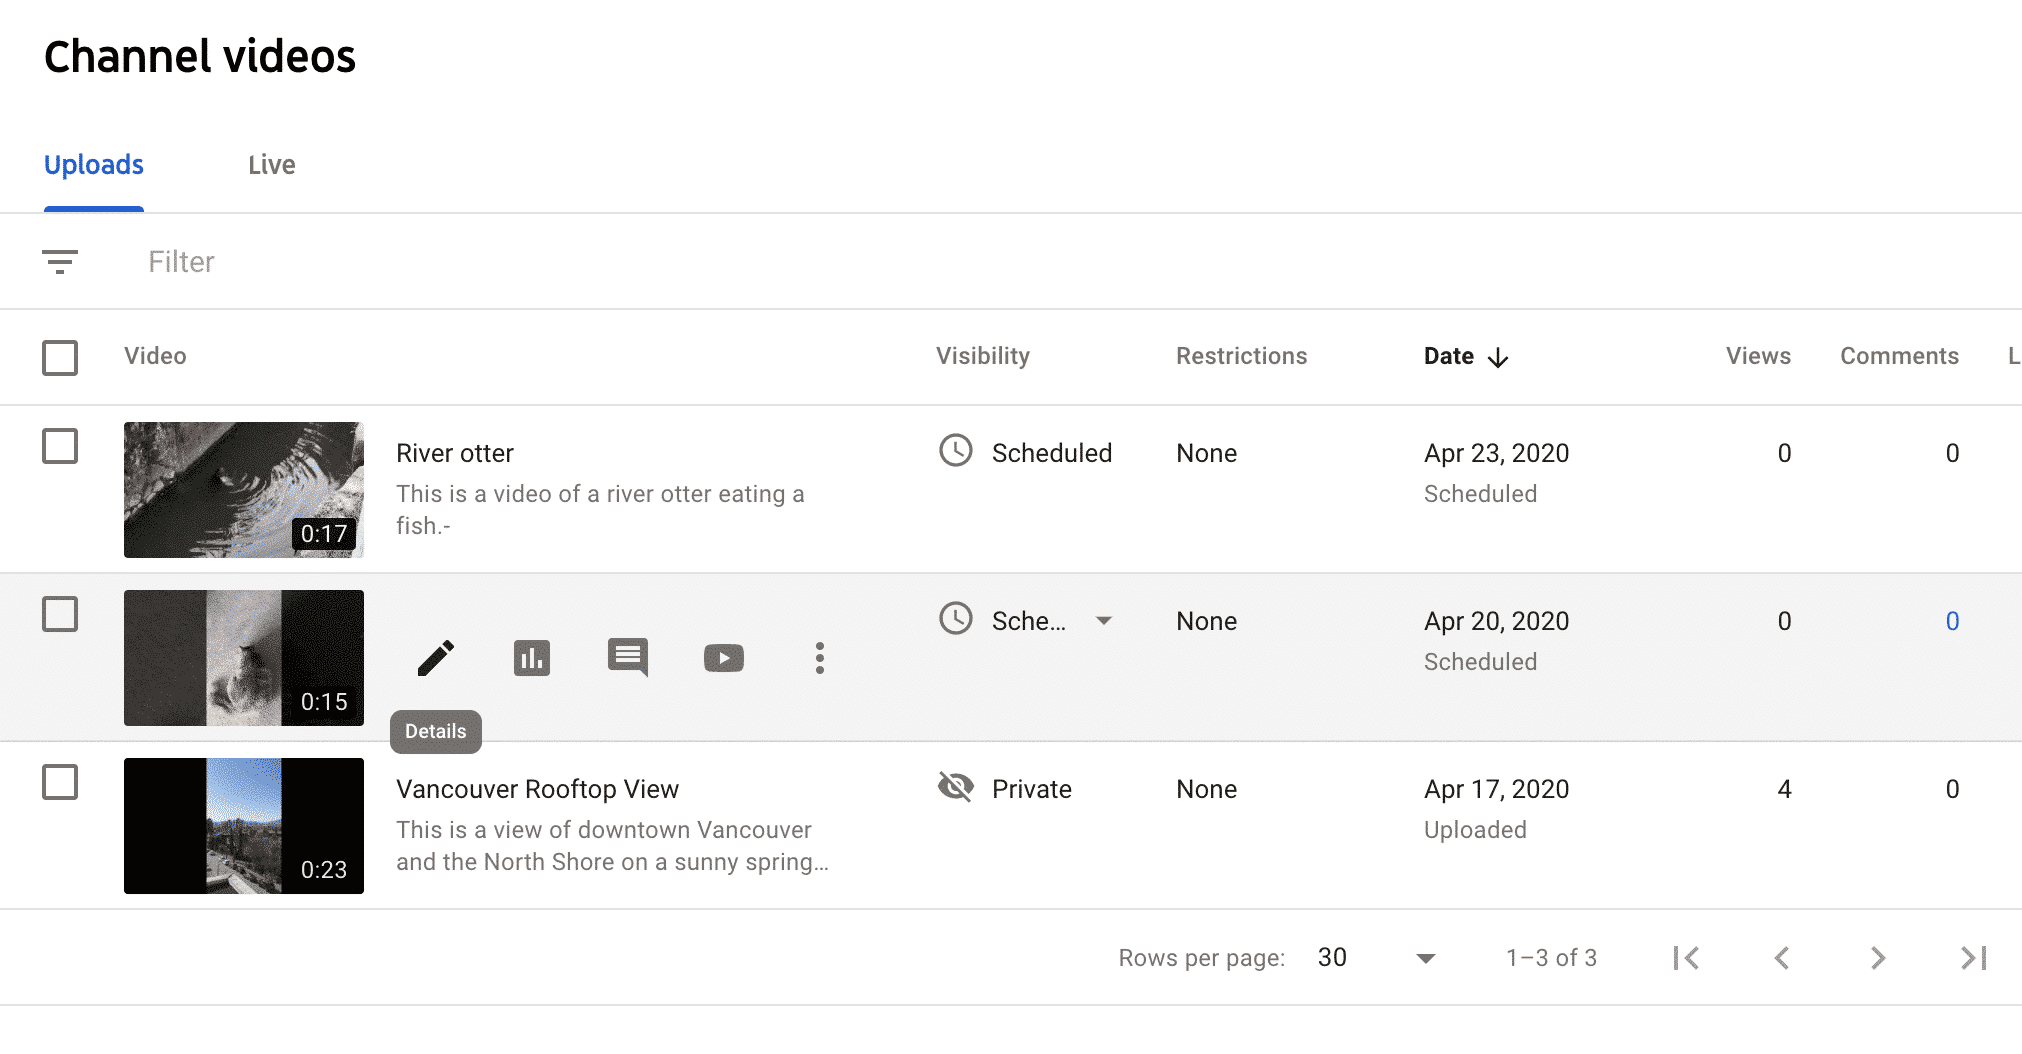
Step 1: Navigate to your uploaded videos on YouTube
Hover over the video you’ve uploaded and scheduled. Then click on the Edit tool.
Step 2: Make changes to the video details and scheduling options
Edit your video’s title, description or other details. You make edits by clicking on both the Basic and More Options tabs.
Here, you can also alter the date and time your video will publish.

Step 3: Edit the video
To make changes to the video itself, click on Editor. This is the third option down in the left hand column.
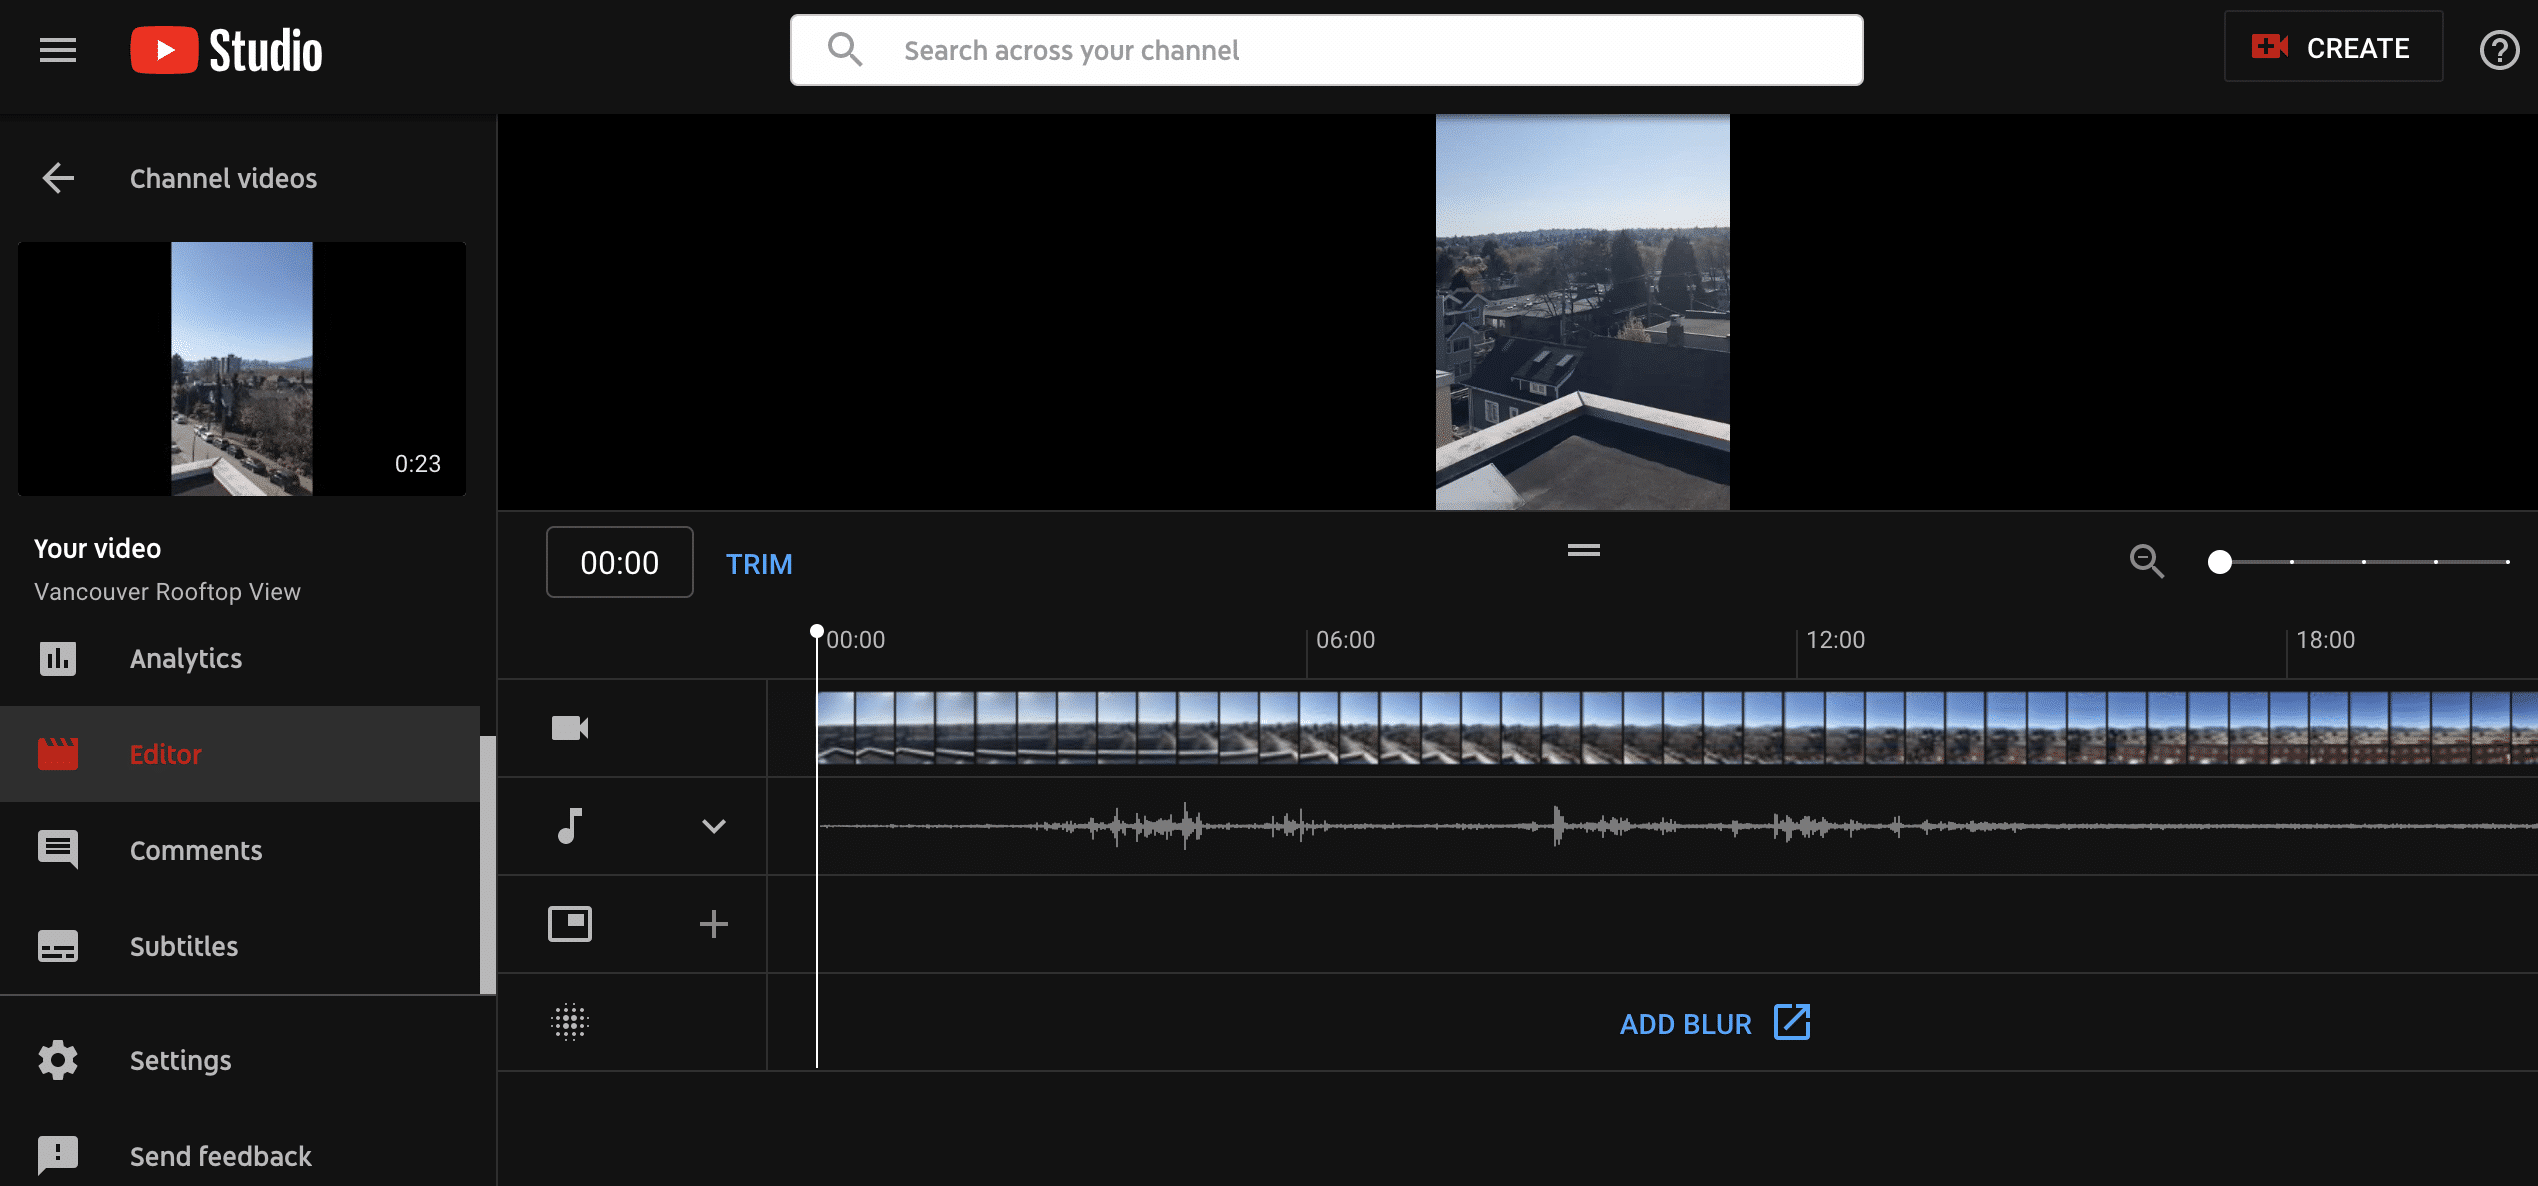
That opens the video you’ve uploaded and allows you to edit your video content.
How to edit a YouTube video after you’ve scheduled it in Hootsuite
You can also make edits to scheduled YouTube videos in Hootsuite.
Step 1: Find your scheduled video
Add a stream for your YouTube videos. Then, when in the Streams section of Hootsuite, navigate to the video you want to edit. Click on the ellipsis to find the More Actionsoption, then click on the edit icon.

Step 2: Make changes to your video details
This will take you back to the screen you saw when you first scheduled your YouTube video using Hootsuite. You’ll see that you can make changes to your video’s title, its description and the thumbnail, as well as to the tags you picked and the category you chose. You can also edit the scheduling details.
How to delete a video off YouTube
To delete a YouTube video natively, navigate to your uploaded videos in your YouTube channel. Select the video by clicking the box on the left, and choose Delete forever from the More Actions dropdown menu.
To delete a video over Hootsuite, head to your YouTube video stream. Find the video you want to delete. Hover your mouse over the More Actions option and choose Delete. Hootsuite will then send you an email, letting you know the scheduled video failed to publish.
5 best practices for scheduling YouTube videos
Describe your video content
Write a descriptive, yet succinct, title for your video. Be sure it lets viewers know what they can expect to watch.
Write a video description that gives viewers a few more details and make sure that description includes keywords. And be sure to add relevant tags, too.
Doing all this boosts the SEO of your video. Basically, it ensures your video content is searchable — and viewed and shared — once it goes live.
Know your audience
Analyze your content analytics, using either YouTube Analytics or Hootsuite Analytics. If you have a good sense of who is viewing your content on YouTube, you can schedule your content on days and at times when it is most likely to be viewed.
Research your competition
When do your competitors publish video content and how often are they publishing?
If you’re relatively new to posting to YouTube — and maybe don’t have significant demographic data yet but are hoping to reach a similar audience — monitor your competitors. This can help you as you learn what scheduling specifics work best for your audience.
Keep track of your content calendar
Planning a content calendar means you’ll know exactly when your YouTube content is scheduled to publish. See gaps in your publishing calendar and fill them. Make sure you aren’t double-posting content. And see how your scheduled YouTube content could be scheduled and cross-promoted on your other social channels.
Schedule content regularly
Finally, try to publish content at regular intervals so your subscribers know when they can count on viewing new content from you. That will help your YouTube channel earn a loyal following!
Grow your YouTube audience faster with Publer. Schedule videos and moderate comments in the same place you manage all your other social networks. SIGN UP FOR FREE HERE today.


0 Comments